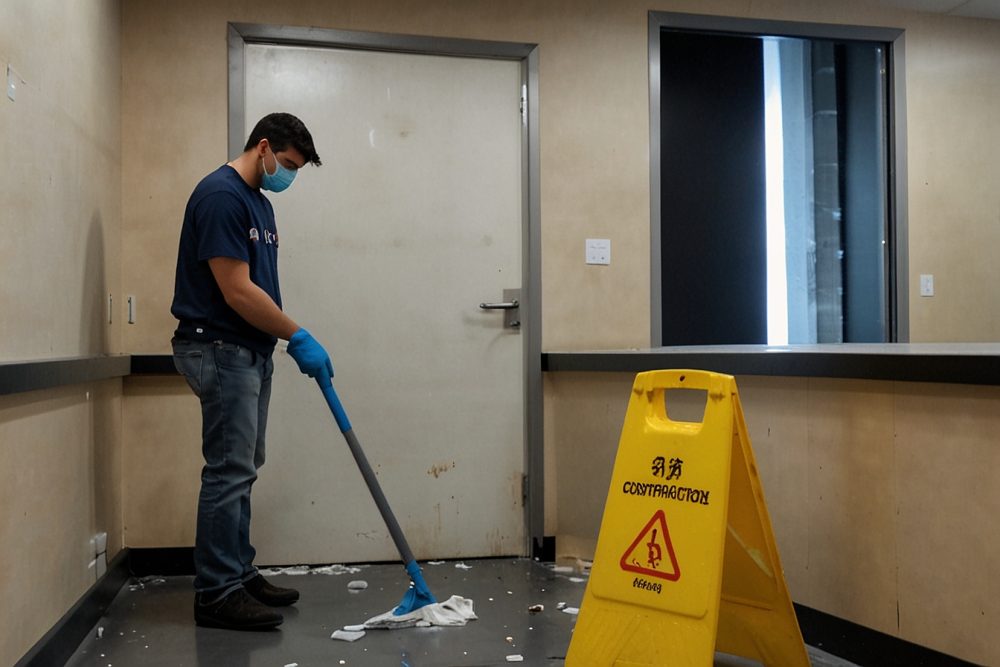
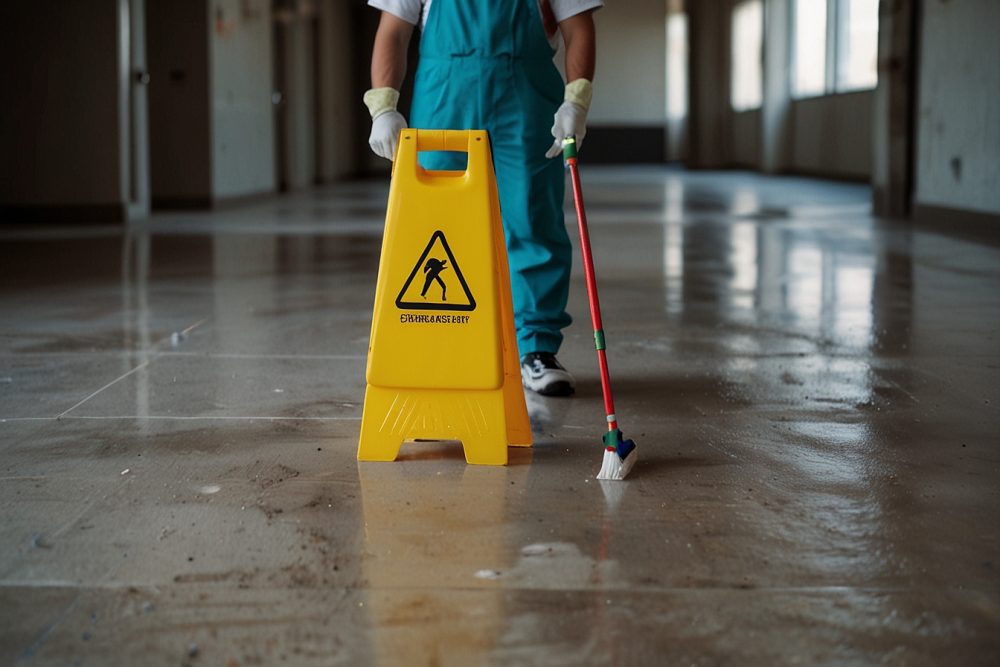
After the dust has settled and the construction crews have left, there’s one final yet crucial step before you can enjoy your new space: post-construction cleaning. This detailed process is essential to transform your new construction site into a move-in ready home or office.
Post-Construction Cleaning
Thorough post-construction cleaning is not just about aesthetics. It’s vital for removing hazardous debris, ensuring the space is safe, and enhancing the longevity of your new fixtures and finishes. Without it, dust, dirt, and construction residues can affect air quality and potentially damage your property.
Start By Planning
Before starting the cleaning process, perform an initial assessment of the space. Identify areas that need the most attention and create a detailed cleaning plan. Prioritize tasks based on the type of debris and surfaces involved.
Tools and Supplies You Need
To tackle post-construction cleaning effectively, gather the right tools and supplies. This includes heavy-duty vacuums, microfiber cloths, mop and bucket, industrial-grade cleaning solutions, and protective gear like gloves and masks.
Safety Precautions
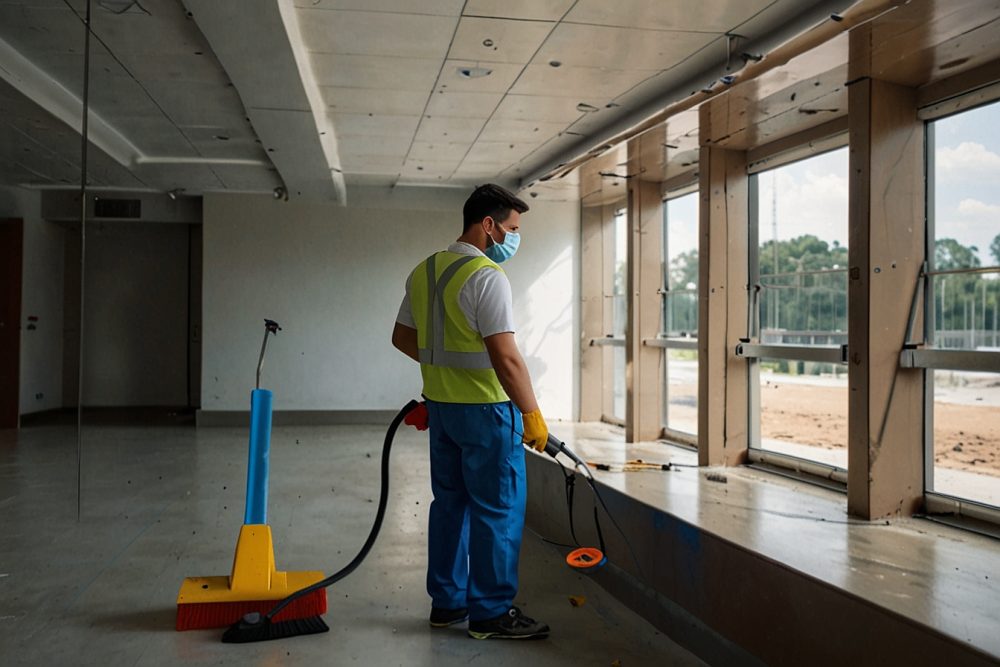
Safety is paramount when cleaning post-construction sites. Handle debris carefully to avoid injury, wear protective clothing to safeguard against dust and chemicals, and ensure proper ventilation when using cleaning products.
Step-by-Step Post-Construction Cleaning Process
- Clearing Debris
- Dusting and Vacuuming
- Detailed Cleaning
1. How to Clean Interior Spaces
Post-construction cleaning of interior spaces is essential to eliminate the fine dust and debris left behind, which can otherwise compromise the aesthetics and health of the new environment. Here’s a detailed approach to cleaning key areas within the interior spaces:
Walls and Ceilings
Start by using a microfiber duster or a vacuum with a brush attachment to remove the loose dust from walls and ceilings. This helps in preventing the dust from spreading to other areas during the cleaning process.
Prepare a solution of mild detergent and warm water. Using a sponge or a soft cloth, gently wash down the walls and ceilings. Pay special attention to corners and edges where dust tends to accumulate. For stubborn spots of paint or adhesive, use a soft-bristled brush to avoid damaging the surface.
After washing, wipe the surfaces with a clean, damp cloth to remove any soap residue. Finally, dry the walls and ceilings with a soft towel to prevent streaks and watermarks.
Windows and Frames
Begin by removing any large debris or leftover materials from the window sills and frames. This may include bits of plaster, stickers, or painter’s tape.
Use a glass cleaner or a mixture of vinegar and water to clean the window panes. Apply the cleaner with a spray bottle and use a squeegee to remove the liquid, wiping the squeegee blade with a clean cloth after each pass to prevent streaks.
Wipe down the window frames and sills with a damp cloth to remove dust and dirt. For painted or varnished frames, use a mild cleaning solution suitable for the finish to avoid damage. Pay attention to the corners and grooves where dust can gather.
Check for any remaining adhesive or paint splashes on the glass and frames. Use a plastic scraper or a specialized cleaning solvent to gently remove these without scratching the surfaces.
Floors and Carpets
Begin by sweeping the floors to collect loose dirt and debris. Follow this with mopping using a suitable floor cleaner. For hardwood or laminate floors, use a damp mop with a cleaning solution designed for those materials to prevent warping or damage.
Carpets require a thorough vacuuming to remove surface dust. For embedded dirt, consider using a carpet cleaner or hiring a professional carpet cleaning service. This process involves using specialized machines that inject cleaning solution into the carpet fibers and then extract it along with the dirt.
Inspect the floors and carpets for any spots or stains that might have occurred during construction. Use appropriate spot cleaners for different types of stains, following the manufacturer’s instructions to avoid damaging the materials.
After cleaning, consider applying a protective finish to hard floors to seal them against future dirt and spills. For carpets, a fabric protector can help maintain cleanliness and extend the life of the fibers.
2. How to Clean Kitchen Area
The kitchen, being a highly functional area, requires meticulous cleaning after construction to ensure it is both hygienic and aesthetically pleasing. Here are quick fixes;
How to Clean Cabinets and Countertops
Start by wiping the inside and outside of cabinets with a microfiber cloth to remove loose dust. Use a vacuum with a brush attachment for corners and crevices.
Mix a mild detergent with warm water and use a sponge or cloth to clean all cabinet surfaces. For stubborn spots or adhesive residue, use a soft-bristled brush or a plastic scraper.
After cleaning, disinfect the countertops using a solution of one part vinegar to one part water or a commercial disinfectant. Ensure the solution is safe for your countertop material. Wipe the surfaces with a clean cloth and allow them to air dry.
Polish wooden cabinets with a wood cleaner to enhance their appearance and protect the finish. Ensure all surfaces are completely dry before placing items back in the cabinets.
How to Clean Kitchen Appliances
Wipe down the exterior of all appliances with a damp cloth and a mild cleaning solution. Pay special attention to handles, knobs, and control panels which can harbor dust and grime.
Clean the interiors of appliances like ovens, microwaves, and refrigerators. For ovens, use an appropriate oven cleaner; for microwaves, a mixture of vinegar and water works well. Remove shelves and drawers from refrigerators and wash them in warm, soapy water.
Use a toothbrush or a small brush to clean around buttons, seals, and other hard-to-reach areas. Ensure that all surfaces are wiped dry to prevent water spots and streaks.
After cleaning, run a cycle on empty for dishwashers and washing machines using a specialized cleaner to remove any construction dust or residues inside the machines.
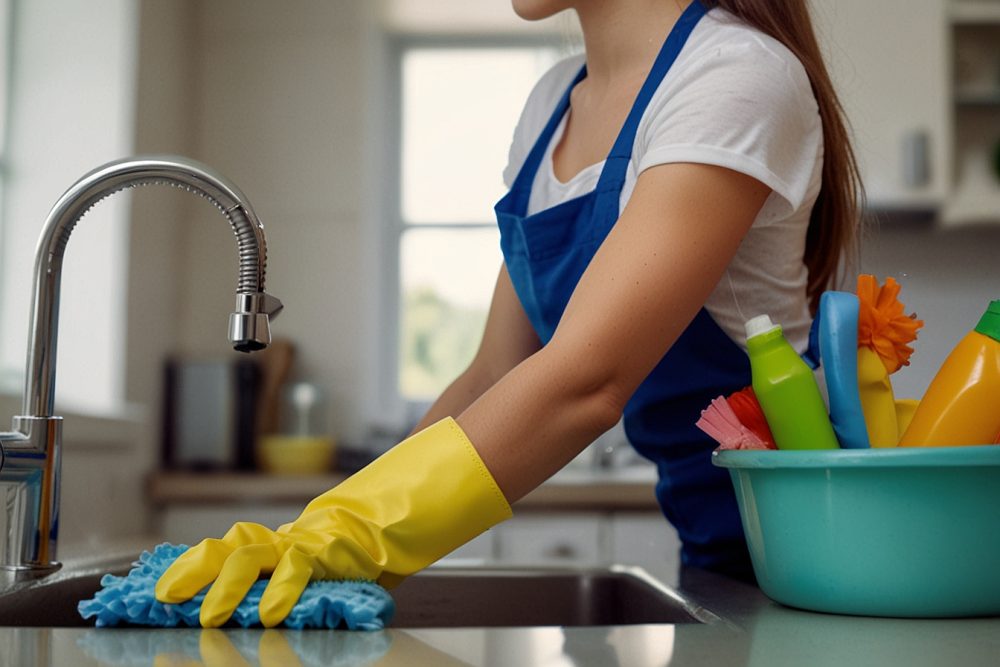
Sinks and Faucets
Remove any large debris from the sink. Fill the sink with warm, soapy water and use a sponge to clean the entire surface. Pay attention to the faucet and the area around it.
For tougher stains or construction residue, use a non-abrasive scrubber. Clean the faucet with a cloth soaked in vinegar to remove water spots and bring back its shine. Use a toothbrush to clean around the base and in the crevices.
How to Clean a Clogged Drain Fast
Rinse the sink and faucet thoroughly with water to remove any cleaning residue. Dry with a soft cloth to prevent water spots.
Pour a mixture of baking soda and vinegar down the drain to clean and deodorize it. Follow with hot water to flush away any remaining debris.
3. How to Clean the Bathroom Area
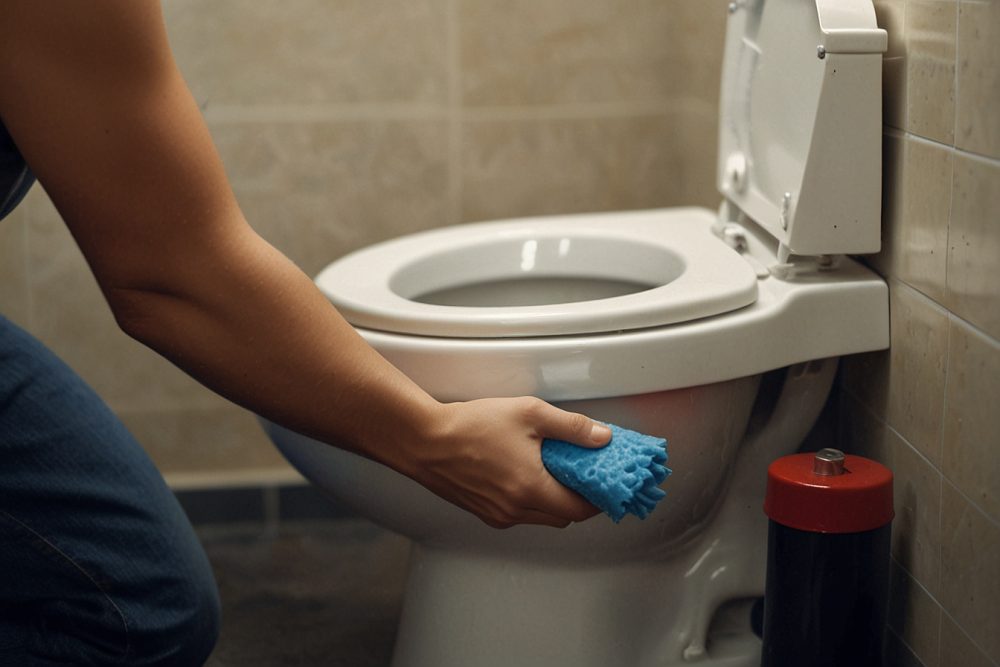
Cleaning the Bathroom Area
Ensuring that the bathroom is thoroughly cleaned after construction is crucial for both hygiene and aesthetics. Here’s a detailed approach to cleaning the key components of a bathroom:
Clean Tiles and Grout
Begin by vacuuming or sweeping the bathroom floor and walls to remove loose dust and debris. This will make the subsequent cleaning steps more effective.
Prepare a mixture of warm water and a mild detergent or a specialized tile cleaner. For tougher grime, you can use a mixture of baking soda and water.
Use a soft-bristled brush or a sponge to scrub the tiles. Start from the top and work your way down to prevent dirty water from dripping onto already cleaned areas. Pay extra attention to areas with visible construction residue.
Apply a paste of baking soda and water or a commercial grout cleaner to the grout lines. Use a toothbrush or a small scrub brush to scrub the grout. This will help in removing embedded dirt and construction dust.
Rinse the tiles and grout with clean water to remove any remaining cleaning solution. Use a mop or a microfiber cloth to dry the surfaces and prevent water spots.
For a polished look, you can apply a grout sealer to protect the grout lines from future stains and make them easier to clean.
Cleaning Fixtures and Fittings
Wipe down all fixtures and fittings with a damp cloth to remove surface dust. This includes sinks, faucets, showerheads, and any other metal or plastic fittings.
Use a bathroom cleaner or a mixture of vinegar and water to clean the fixtures thoroughly. Spray the solution onto the fixtures and let it sit for a few minutes to break down any soap scum or construction residue.
Use a soft cloth or sponge to scrub the fixtures. For tough spots, use a non-abrasive scrubber. Polish the fixtures with a dry, soft cloth to bring out their shine and ensure they are streak-free.
While cleaning, check that all fixtures are functioning correctly. Ensure that faucets are not leaking, showerheads are not clogged, and everything is securely fitted.
Mirrors and Glass Surfaces
Use a dry microfiber cloth to dust off mirrors and glass surfaces. This will prevent streaks when you apply the cleaner.
Apply a glass cleaner or a mixture of vinegar and water to the mirrors and glass surfaces. Spray the cleaner directly onto the surface or onto a cloth.
Use a clean, dry microfiber cloth or a paper towel to polish the mirrors and glass. Wipe in a circular motion to remove all smudges and streaks. For a streak-free finish, avoid using too much cleaner and ensure that the cloth or towel is completely dry.
Use a cotton swab or a toothbrush to clean the edges and corners of the mirrors and glass surfaces where dust and grime tend to accumulate.
4. How to Clean Living and Office Areas
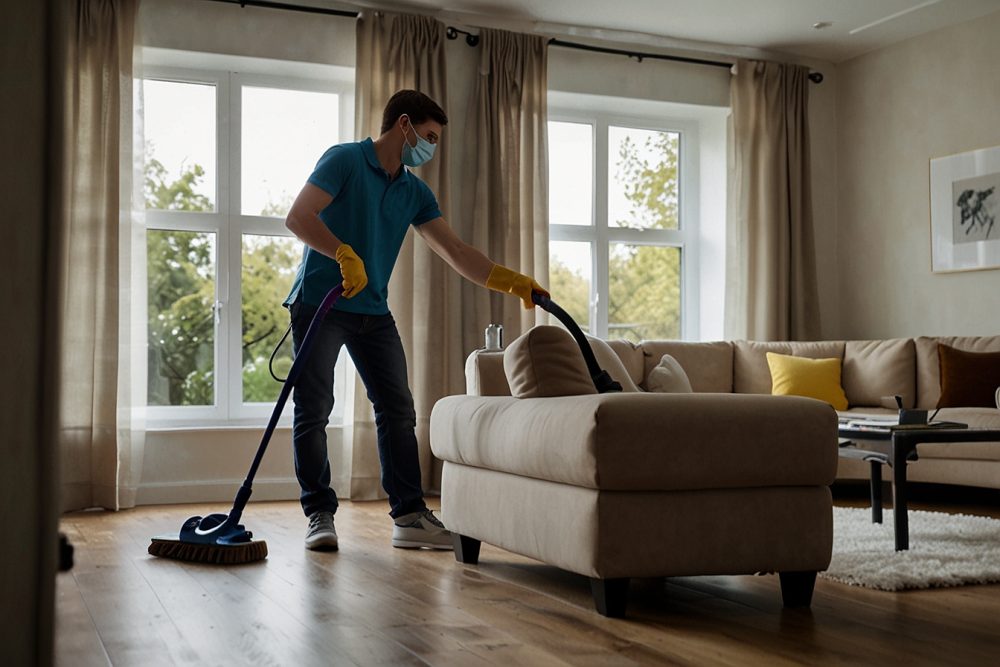
Living and office spaces require detailed cleaning to ensure a comfortable and welcoming environment.
Furniture and Fixtures
Start by dusting all furniture and fixtures with a microfiber cloth to capture and remove loose dust. Use an extendable duster for hard-to-reach places like light fittings and ceiling fans.
Wipe down surfaces of all furniture using a suitable cleaner. For wood furniture, use a wood cleaner or a mixture of mild soap and water. For upholstered furniture, vacuum thoroughly to remove dust and dirt from fabric surfaces.
Pay special attention to intricate details and crevices in furniture and fixtures. Use a small brush or a vacuum with a brush attachment to clean these areas effectively.
After cleaning, polish wooden furniture with a wood polish to restore its shine and protect the finish. For metal fixtures, use a metal polish to remove any tarnish and enhance their appearance.
Electrical Outlets and Switches
Use a dry microfiber cloth to dust off electrical outlets and switches. Be careful not to use any liquid cleaners directly on these areas to avoid any electrical hazards.
Slightly dampen a cloth with a mild cleaner and carefully wipe down the outlets and switches. Make sure the cloth is not too wet to prevent moisture from entering the electrical components.
For stubborn fingerprints or grime, use a cotton swab dipped in a mild cleaning solution to clean around the edges and in any crevices. Ensure that the area is completely dry after cleaning.
Clean Doors and Handles
Dust off the doors, including the top edges and frames, using a microfiber cloth. This helps to remove any loose dust and debris.
Clean the doors with a mild soap solution or a suitable door cleaner. Use a sponge or cloth to wipe down the surface thoroughly. For painted doors, use a cleaner that is safe for paint to avoid damaging the finish.
Clean door handles and knobs with a disinfectant cleaner to ensure they are free from germs and grime. Use a cloth to wipe down the handles, and for detailed cleaning, use a toothbrush to clean around the base and in any intricate designs.
For metal handles and knobs, use a metal polish to remove any tarnish and restore their shine. For wooden doors, follow up with a wood polish if needed.
After cleaning, inspect all areas to ensure no spots or smudges remain. Dry all surfaces thoroughly to prevent any watermarks.
How to Properly Dispose Construction Waste
Proper disposal of construction waste is crucial for maintaining a clean environment and complying with local regulations.
Categorizing Waste
Begin by sorting the construction waste into three main categories: recyclables, hazardous materials, and general trash.
Recyclables: This includes materials like metal, cardboard, paper, glass, and certain plastics. Clean and separate these items to facilitate recycling.
Hazardous Materials: Identify hazardous materials such as paints, solvents, adhesives, and certain types of insulation. These require special handling due to their potential to harm the environment or human health.
General Trash: Non-recyclable and non-hazardous items fall into this category. This may include mixed construction debris, certain plastics, and non-recyclable packaging materials.
Use separate containers or designated areas for each category to prevent cross-contamination. Label these containers clearly to avoid confusion and ensure proper disposal.
Recycling and Disposal Options
Locate local recycling centers that accept construction materials. Many recycling facilities accept metals, concrete, wood, and other construction debris. Contact the centers to understand their specific requirements and accepted materials.
Dispose of hazardous materials at designated hazardous waste disposal facilities. These facilities have the necessary protocols to safely handle and neutralize hazardous substances.
For non-recyclable and non-hazardous waste, use licensed landfill sites. Ensure that the landfill accepts the type of waste you are disposing of and complies with local regulations.
Consider donating usable materials and fixtures to local charities or reuse centers. Items like doors, windows, fixtures, and surplus building materials can often be reused in other projects, reducing the amount of waste.
Professional Waste Management Services
For large-scale projects or when dealing with complex waste streams, consider hiring professional waste management services. These companies are experienced in handling construction waste and can ensure compliance with all regulations while providing efficient and environmentally friendly disposal solutions.
Professional Post-Construction Cleaning Services- When to Hire Professionals
Engaging professional post-construction cleaning services can be a smart decision, especially for large or complex projects. Here’s an in-depth look at when to hire professionals, the benefits they offer, and cost considerations.
Complex and Large-Scale Projects
For extensive construction projects, such as commercial buildings or large residential properties, the volume and complexity of cleaning required can be overwhelming. Hiring professionals ensures the job is done efficiently and thoroughly.
If you are under a tight schedule to make the space move-in ready, professional cleaners can expedite the process. They have the manpower and resources to handle large tasks quickly.
Certain construction sites may require specialized cleaning techniques or equipment, such as high-pressure washers for exterior surfaces or industrial vacuums for fine dust. Professionals are equipped with the necessary tools and expertise to handle these challenges.
Construction sites often contain hazardous materials like silica dust, which require careful handling and specific cleaning methods to ensure safety. Professionals are trained to deal with such hazards safely and effectively.
If you require a high standard of cleanliness for health or aesthetic reasons, professional services guarantee a level of quality that might be difficult to achieve on your own.
Benefits of Professional Services
Professional cleaners are experienced in handling post-construction sites. They know the best practices and techniques to achieve thorough and efficient cleaning.
Professionals come equipped with industrial-grade tools and cleaning agents that are often more effective than consumer-grade products. This includes HEPA-filter vacuums, commercial-grade floor polishers, and specialized solvents.
A professional team can complete the cleaning process much faster than an untrained individual or a small team. This allows you to meet deadlines and reduces downtime before the space can be occupied.
Professionals provide a detailed and thorough cleaning that covers every nook and cranny, including hard-to-reach areas that might be overlooked. This ensures that the space is completely free from dust, debris, and residues.
Professional cleaners follow safety protocols and are knowledgeable about handling hazardous materials. This reduces the risk of accidents or health issues arising from improper cleaning methods.
Hiring professionals takes the burden off your shoulders, allowing you to focus on other important aspects of your project. This can significantly reduce stress and ensure peace of mind.
Simple Eco-Friendly Cleaning Practices
Adopting eco-friendly cleaning practices during post-construction cleanup not only benefits the environment but also promotes a healthier indoor space.
Green Cleaning Products
Eco-friendly cleaning products are designed to minimize harmful environmental impacts. They are free from toxic chemicals, biodegradable, and often made from renewable resources. Using these products helps reduce pollution and health risks associated with traditional cleaning chemicals.
Look for certifications such as Green Seal, EcoLogo, or the EPA’s Safer Choice label when selecting cleaning products. These certifications indicate that the product meets stringent environmental and health criteria.
Common Green Products:
- Vinegar and Baking Soda
- Plant-Based Cleaners
- Microfiber Cloths
Using Green Products Effectively
Follow the manufacturer’s instructions to ensure you are using the products effectively and efficiently. Use the appropriate amount to avoid waste and maximize cleaning power.
FAQs
What is included in post-construction cleaning?
Post-construction cleaning includes removing debris, dusting, vacuuming, cleaning surfaces, windows, and fixtures, and ensuring the space is safe and ready for use.
How long does post-construction cleaning take?
The time required depends on the size and condition of the space. It can range from a few hours to several days.
What supplies do I need for post-construction cleaning?
Essential supplies include heavy-duty vacuums, microfiber cloths, mop and bucket, industrial-grade cleaning solutions, and protective gear like gloves and masks.
Can I do post-construction cleaning myself?
Yes, with the right tools and a detailed plan, you can do it yourself. However, for large or complex projects, hiring professionals may be more efficient.
Are there eco-friendly options for post-construction cleaning?
Yes, you can use green cleaning products and follow sustainable waste disposal practices to minimize environmental impact.
How much does professional post-construction cleaning cost?
Costs vary based on the size and condition of the space, but professional cleaning services typically charge by the hour or by the square footage.
Post-construction cleaning is a critical step in ensuring your new space is safe, clean, and ready for occupancy.