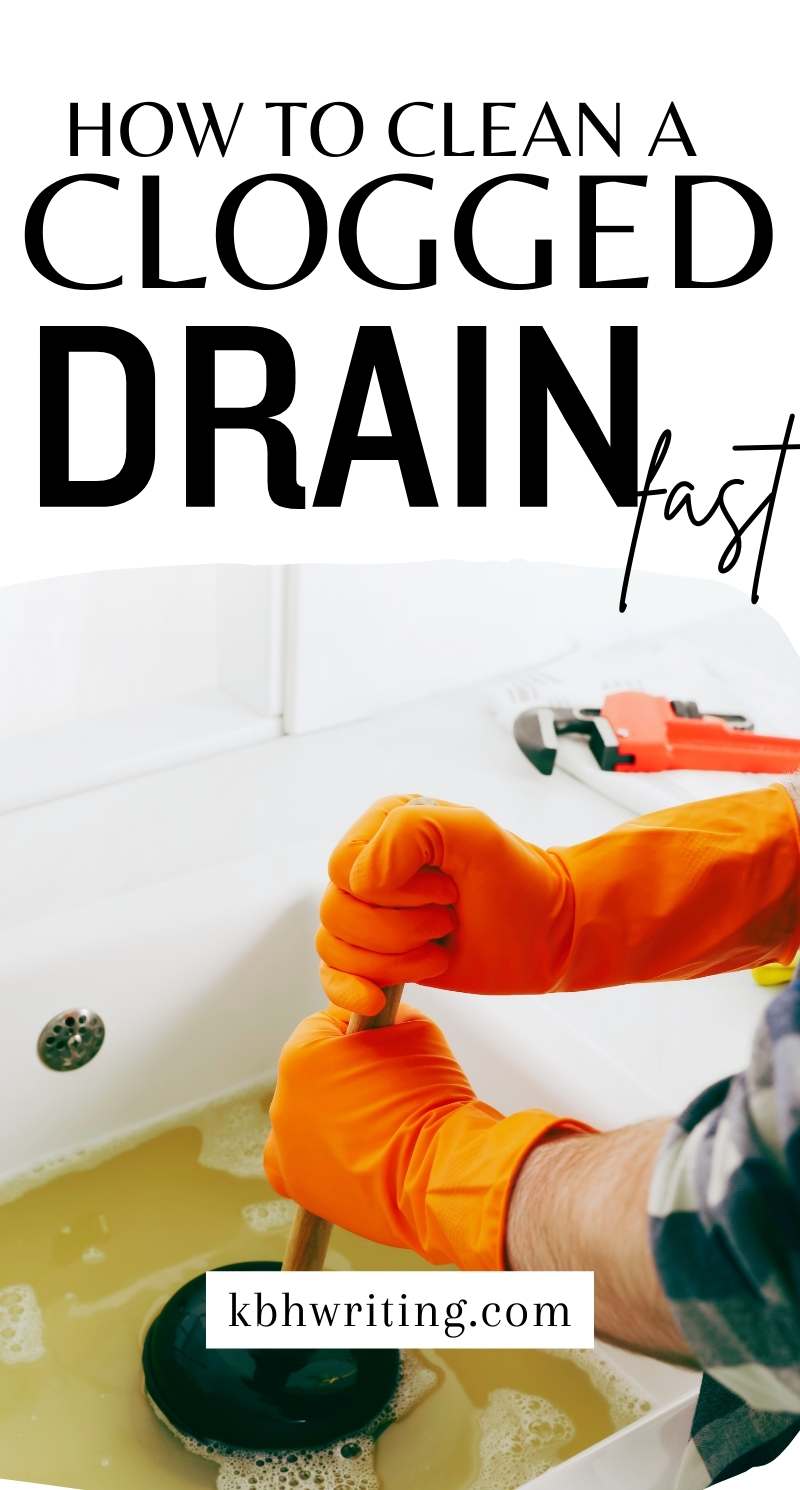
Ugh, the dreaded clogged drain. You’re humming along, washing dishes, or taking a shower, and bam! Water backs up, refusing to budge. Don’t fret, my friends, because cleaning a clogged drain doesn’t require superhero plumbing skills (unless it’s a total inline blockage, in which case, maybe call a professional).
Dealing with a clogged drain is one of those pesky household issues that can disrupt our daily routines. Whether it’s a slow-draining sink or a shower that’s pooling water at your feet, a clogged drain is undoubtedly frustrating. The good news is that you don’t need to be a plumbing expert to tackle this common problem.
Here’s your step-by-step guide to getting those pipes flowing freely again, using simple tools and everyday ingredients you probably already have!
First things first: identify the culprit.
- Kitchen sink: Food scraps, grease, and soapy buildup are the usual suspects.
- Bathroom sink: Hair toothpaste globs and rogue Q-tips are the most common offenders.
- Shower/bathtub: Hair, soap scum, and loofah remnants love to party in the drain.
Materials You’ll Need
- Baking soda
- Vinegar
- Boiling water
- Plunger
- Wire hanger or drain snake (optional)
Clean a Clogged Drain
Step 1: Assess the Situation
Before you roll up your sleeves and grab your DIY toolkit, start by understanding the current state of your clogged drain. This initial assessment can be the key to choosing the right approach for a swift resolution.
Is the water draining slowly?
If you notice a gradual slowdown in water drainage, it indicates an early stage of clogging. In such cases, the culprit might be accumulated debris, hair, or soap scum near the surface. This situation often responds well to simple interventions, like the removal of visible debris or a hot water treatment.
Is it completely blocked?
On the other hand, if the water refuses to budge, leaving you with a sink or shower resembling a small pond, you’re dealing with a more severe clog. This might involve a compacted mass of materials further down the drainpipe. In cases of complete blockage, a combination of methods, such as plunging and chemical reactions, may be necessary for effective clearing.
Identifying the extent of the clog
To assess the extent of the clog, consider the following steps;
Visual Inspection
Check for any obvious signs of blockage near the drain opening. Remove the drain cover or stopper and use a flashlight to peer into the drain. If you spot hair, gunk, or other debris close to the surface, you’re likely dealing with a minor clog.
Listen for Gurgling
If you hear gurgling sounds when water is draining, it could indicate a partial blockage. This suggests that water is finding it challenging to flow freely through the pipes, even though it hasn’t reached a complete standstill.
Odor Check
Unpleasant odors emanating from the drain can be a sign of accumulated organic matter. This may not always correlate with the severity of the clog but can provide additional information about what’s causing the blockage.
Step 2: Remove Visible Debris
Now that you’ve assessed the situation, let’s roll up our sleeves and get hands-on with the first step in tackling that stubborn clog: removing visible debris. This initial action targets the surface layer of accumulated hair, soap scum, and other gunk that’s likely standing between you and a smoothly flowing drain.
Materials You’ll Need
- Pair of gloves
- Paper towel
- Trash bag
Put on Gloves
Before you get started, it’s a good idea to protect your hands from any potential mess. Slip on a pair of gloves to keep things hygienic.
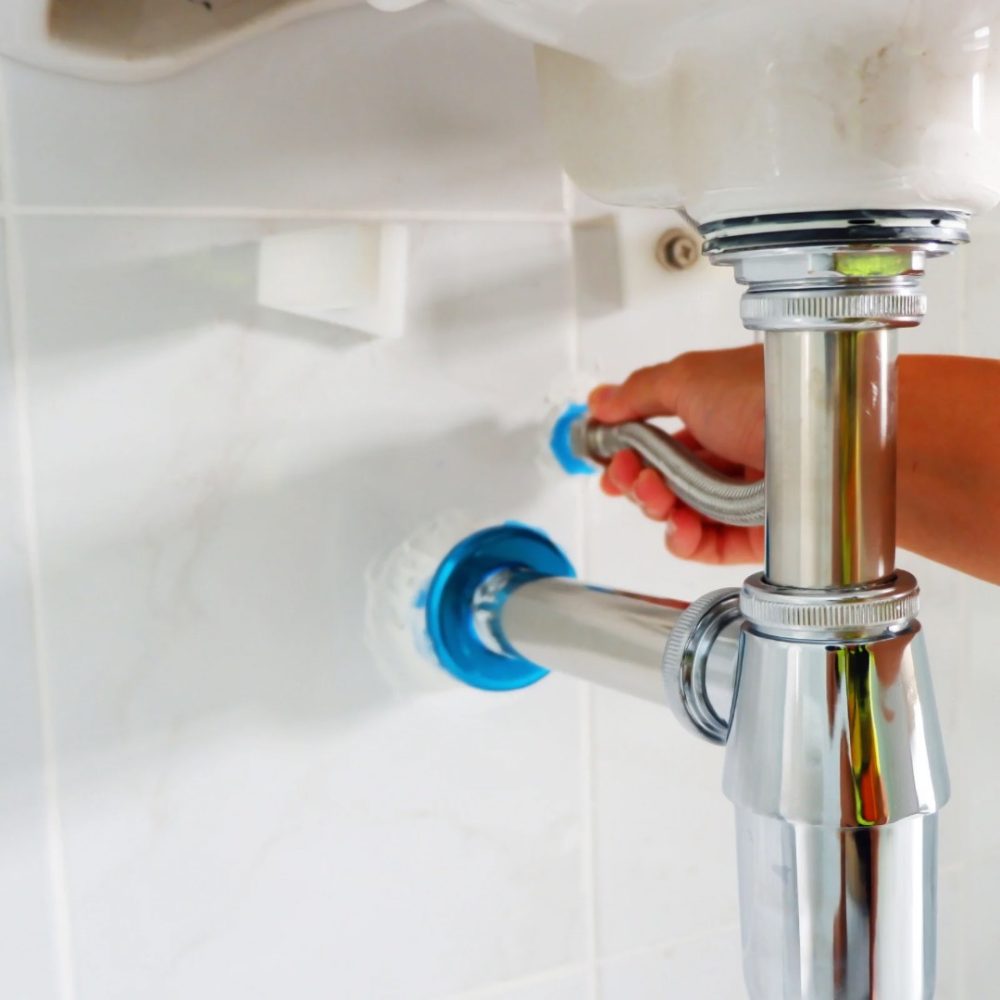
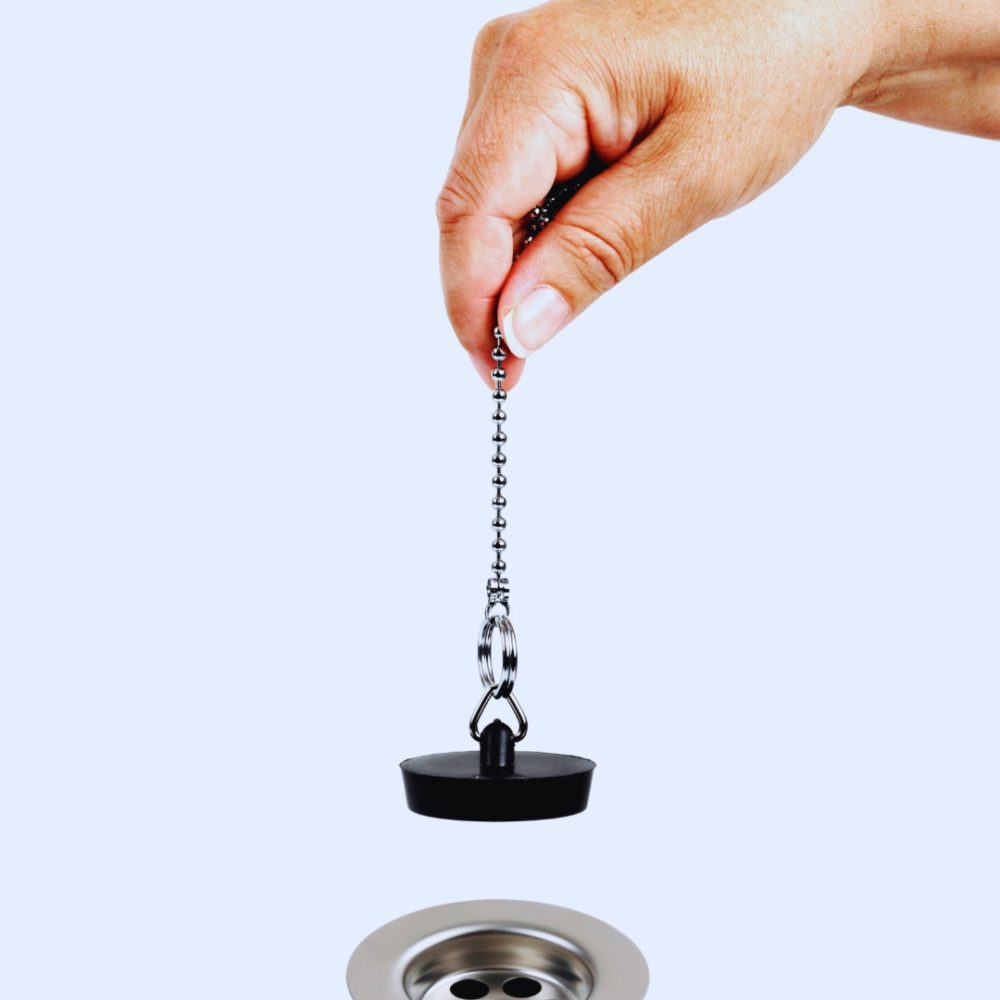
Access the Drain Opening
Depending on your sink or shower, you may need to remove the drain cover or stopper to gain access to the inside. Some drains may have screws holding the cover in place, so grab a screwdriver if necessary.
Inspect and Remove
Armed with your gloves and paper towel, carefully inspect the visible area near the drain opening. Look for clumps of hair, soap scum, and any other debris that might be contributing to the clog.
As you collect the debris, use the paper towel to grab and lift it from the drain. Dispose of these materials promptly in a trash bag. This not only clears the obstruction but also helps prevent any potential mess.
Check the Drain Opening
After clearing the visible debris, take a moment to ensure that the drain opening is now free of any hindrances. A clear opening allows water to flow more freely, setting the stage for the next steps in resolving the clog.
Step 3: Boiling Water Treatment
With visible debris out of the way, let’s introduce a simple yet powerful technique to break down clogs caused by grease and soap: the boiling water treatment. This method is like a spa day for your pipes, helping to melt away stubborn substances and restore the flow.
Getting Started
Heat the Water
Begin by heating a kettle or pot of water until it reaches a rolling boil. The hot water will act as a natural solvent, softening and breaking down the substances contributing to the clog.
Pour in Stages
Carefully pour the boiling water down the drain in two to three stages. It’s essential to give the hot water time to work its magic between pours. This gradual approach allows the heat to penetrate and dislodge the clog more effectively.
Be Cautious
Pour the water slowly and steadily to avoid splashing. Hot water can be effective, but safety is paramount. If you have a porcelain sink or PVC pipes, use hot but not boiling water to prevent any potential damage.
Allow Time for Action
After each pour, wait for a few minutes to allow the hot water to penetrate the clog. Picture it as a friendly yet potent force working to dissolve and loosen the stubborn debris in your pipes.
Test the Drainage
Once you’ve completed the boiling water treatment, test the drainage by running water. You might notice an improvement, especially if the clog was caused by grease, soap, or other materials that are responsive to heat.
Boiling water is a natural and eco-friendly solution to break down clogs. The heat helps liquefy grease and soap, making them easier to flush away. This method is particularly effective for minor clogs and is an excellent initial step in the battle against a sluggish drain.
Step 4: Try Baking Soda and Vinegar
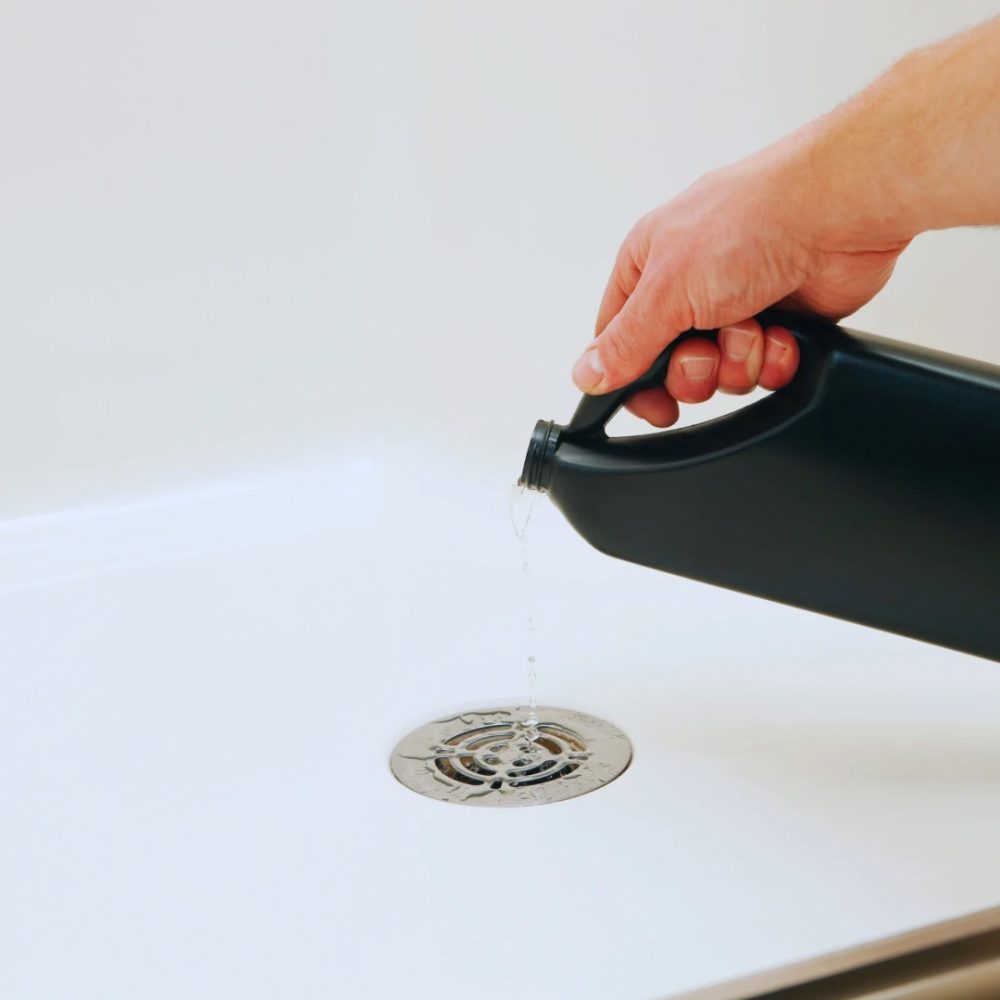
Now, let’s introduce a dynamic duo that’s not just for baking—baking soda and vinegar! This classic and eco-friendly combination creates a fizzing reaction that works wonders in breaking down grease and other blockages. You can also read this post Step-by-Step Guide For Cleaning Your Drain With Vinegar And Baking Soda to get this right.
Materials You’ll Need:
- Baking soda
- White vinegar
- Cloth or stopper
- Hot water
Getting Started
Pour Baking Soda
Begin by pouring half a cup of baking soda down the drain. Baking soda is a fantastic natural cleaner with the abrasive power to scour away debris and odors.
Follow with Vinegar
Immediately after the baking soda, pour a cup of white vinegar down the drain. As the vinegar meets the baking soda, a chemical reaction occurs, creating a fizzing action that helps break down grease and other blockages.
Cover the Drain
To contain the fizzing action and direct its force downward, cover the drain with a cloth or stopper. This simple step ensures that the reaction is focused on the clog rather than fizzing back up.
Let It Sit
Allow the baking soda and vinegar mixture to sit in the drain for 15-30 minutes. This dwell time gives the ingredients ample opportunity to penetrate and dissolve the stubborn clog.
Flush with Hot Water
After the waiting period, finish the process by flushing the drain with hot water. This final step washes away the remnants of the fizzing action and ensures a clean, clear drain.
The chemical reaction between baking soda and vinegar is a powerful and natural way to tackle clogs. Baking soda acts as a gentle abrasive, while vinegar’s acidity enhances its cleaning properties. Together, they create a fizzing action that can dislodge debris, leaving your drain refreshed and free-flowing.
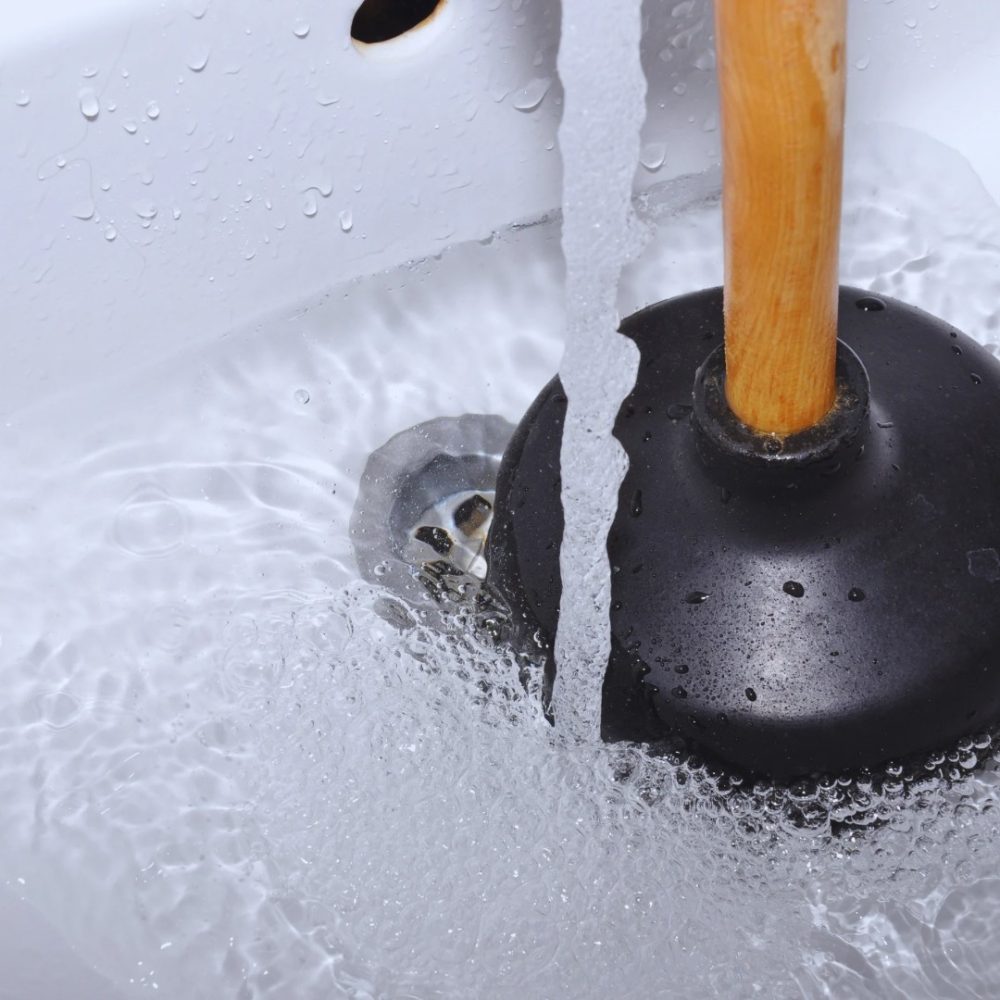
Step 5: Use The Power Of a Plunger
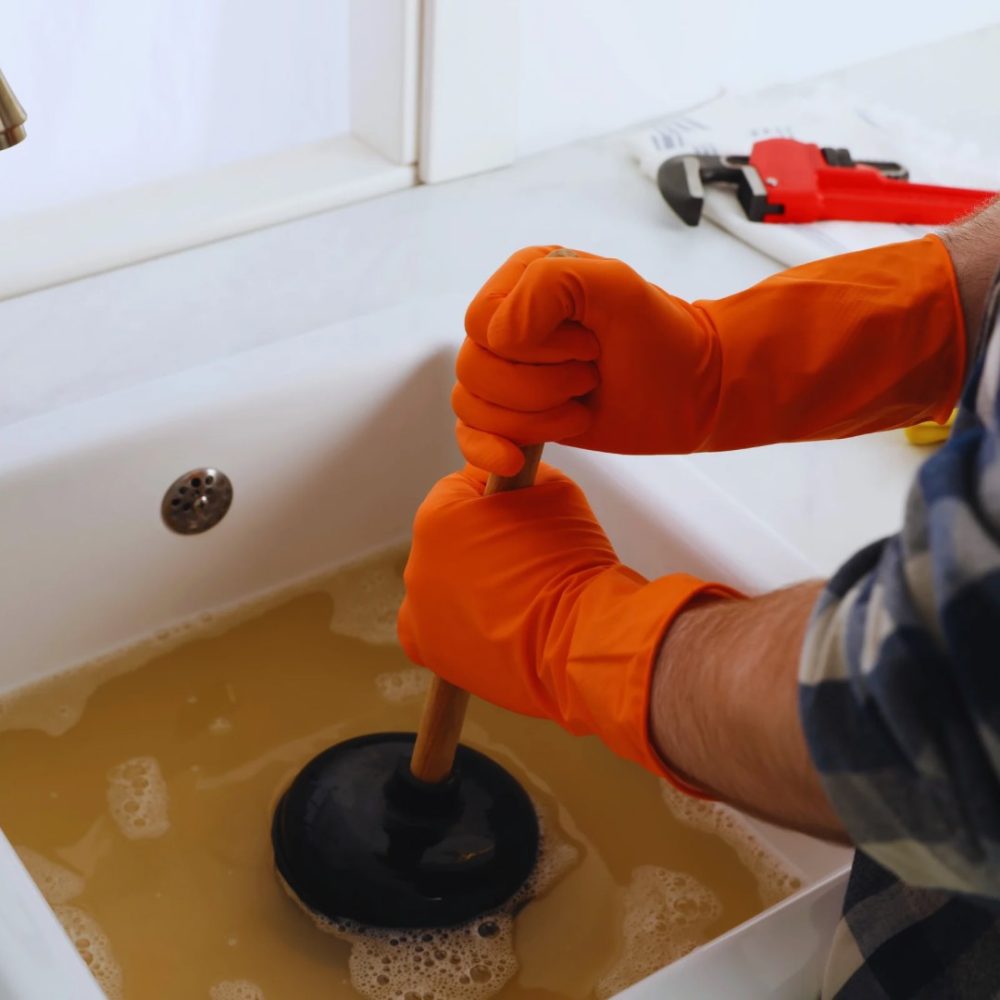
If the clog is putting up a tough fight, it’s time to bring out the heavy artillery – the plunger. This classic tool is not just for toilets; it can work wonders on sink and shower drains too.
Check Water Level
Ensure there’s enough water in the sink or shower to cover the rubber end of the plunger. The water helps create a seal, maximizing the effectiveness of the plunging action.
Position the Plunger
Place the plunger over the drain, ensuring it forms a tight seal. If you’re dealing with a double sink, plug the adjacent drain with a stopper or a cloth to concentrate the plunging force on the clogged drain.
Apply Forceful Plunges
With a firm grip on the plunger handle, give it several forceful plunges. The goal is to create pressure changes in the pipes, which can dislodge the clog. The key here is to plunge with intensity but avoid breaking the seal between the plunger and the drain.
Repeat as Needed
If the water doesn’t start draining freely after the first attempt, don’t be discouraged. Repeat the plunging process several times, checking the drain periodically. Persistence is key.
Test the Drainage
Once you notice an improvement in water flow or the water begins to drain freely, you’ve successfully tackled the clog. Test the drainage by running additional water to ensure the clog has been fully cleared.
A plunger is a trusty ally in the battle against stubborn clogs. The plunging action creates a back-and-forth movement that generates pressure changes in the pipes. This pressure can break up and dislodge the clog, allowing water to flow freely once again.
NOTE:
If all else fails, try a commercial drain cleaner. Make sure to follow the instructions carefully and use caution, as these chemicals can be harsh.
Do you know that prevention is key?
- Strain your sink drains. Use a mesh screen to catch food scraps before they hit the pipes.
- Brush your hair before showering. This helps minimize the amount of hair that goes down the drain.
- Avoid pouring grease down the drain. Let it cool and solidify, then throw it in the trash.
- Clean your drains regularly. Pour a mixture of baking soda and vinegar down the drain once a month to keep things flowing smoothly.
HALT!!! Important info
- Always wear gloves when working with chemicals or draining snakes.
- Don’t mix chemicals, as it can create dangerous fumes.
- If your attempts fail, don’t despair! Calling a plumber is a sign of wisdom, not weakness.
FAQ 1: How can I prevent clogs in the first place?
Q: What can I do to avoid dealing with clogged drains regularly?
A: To prevent clogs, consider using drain strainers to catch hair and debris, avoid pouring grease down the drain, and flush hot water through the pipes regularly. Additionally, be mindful of what goes into your drains, and consider implementing preventative measures like using enzymatic cleaners to break down organic matter.
FAQ 2: Is it safe to use boiling water on all types of drains?
Q: Can I use boiling water on any type of drain without causing damage?
A: Boiling water is generally safe for most drains, but caution is advised for porcelain sinks and PVC pipes. Use hot, not boiling, water in these cases to prevent potential damage. Always follow safety guidelines and handle hot water carefully to ensure a safe and effective treatment.
FAQ 3: What if the plunger doesn’t work?
Q: I’ve tried plunging, but the clog persists. What should I do?
A: If plunging doesn’t solve the issue, consider using a wire hanger or drain snake to physically remove the blockage. This tool allows you to reach deeper into the pipes and dislodge stubborn clogs. If you’re uncertain or uncomfortable with this approach, it may be time to consult a professional plumber for assistance.
FAQ 4: Can I use the baking soda and vinegar method regularly?
Q: Is it safe to use the baking soda and vinegar method frequently?
A: While the baking soda and vinegar method is a safe and eco-friendly option, using it too often may lead to overuse. It’s advisable to reserve this method for periodic maintenance or minor clogs. Overusing it might not be as effective over time, and for severe clogs, a combination of methods such as plunging or using a drain snake may be necessary.