If you’re thinking about hanging wallpaper by yourself with top bond glue but feel a bit unsure, don’t worry! This guide is here to help, explaining every step easily. Top Bond glue is great for wallpaper because it sticks well and leaves a smooth finish. This guide will take you through everything – from getting ready to putting on the finishing touches.
So, before you start, it’s good to make sure your wall is in good shape. Clean it up, maybe put on a primer, and make sure it’s nice and smooth. Once you’ve got that down, we’ll walk you through putting on the Top Bond glue. We’ll cover measuring and cutting the wallpaper to fit your wall just right, spreading the glue evenly, and avoiding any common mistakes.
If you run into any problems while hanging your wallpaper, don’t worry; we’ve got tips for that too. Whether it’s matching patterns, dealing with corners, or handling tricky spots, we’ve got you covered. By the time you’re done, your DIY project will feel like a success, thanks to the helpful tips in this guide.
To finish things off, we’ll look at the final touches that make your walls look amazing. We’ll talk about getting rid of air bubbles and trimming any extra wallpaper neatly. After going through this guide, you’ll not only have awesome wallpaper but also the skills and confidence to tackle more DIY projects in the future. Let’s get started and make your walls look fantastic!
How to Use Top Bond Glue For Wallpaper
Before you begin,
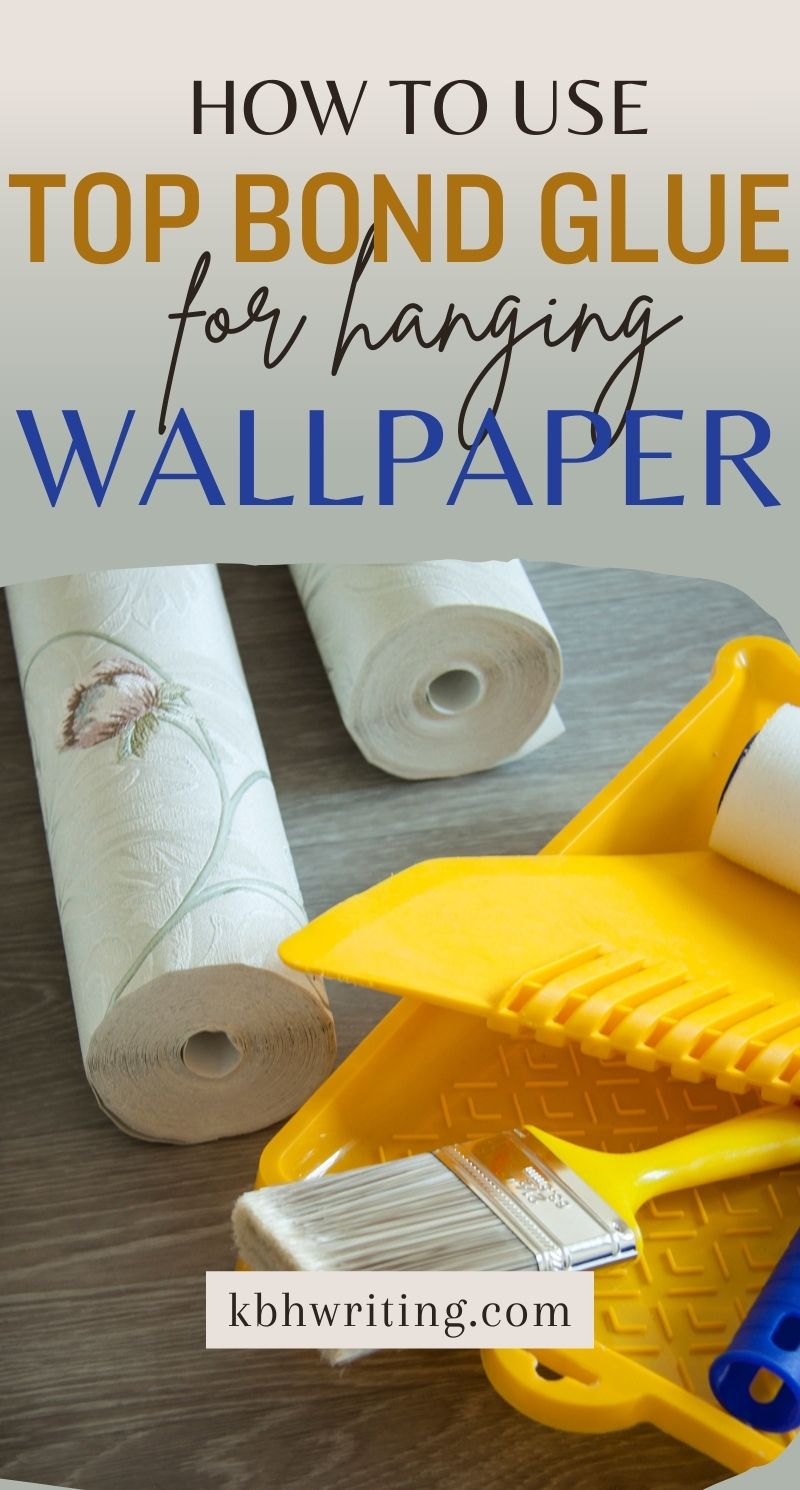
Gather your tools and materials.
- Top Bond glue (choose the appropriate type for your wallpaper)
- Bucket and stirring stick
- Sponge and clean clothes
- Measuring tape and utility knife
- Wallpaper brush and roller
- Smoothing tool (seam roller, wallpaper smoother)
- Level and plumb bob
- Stepladder (if needed)
- Drop cloths and protective gear (gloves, mask)
Prepare the wall surface
- Remove any old wallpaper, nails, or screws.
- Fill in any holes or cracks with spackle and sand smooth.
- Wash the wall with a mild detergent solution and let it dry completely.
- Ensure the wall is smooth, clean, and free of dust and grease.
Measure and cut the wallpaper.
Determine the wallpaper pattern and measure the wall height and width.
Cut the wallpaper strips to the required length, adding an extra 2-3 inches for overlap.
Mark the back of each strip with the order of installation.
Mixing the Top Bond glue
- Read the manufacturer’s instructions carefully for specific mixing ratios. Different types of Top Bond glue may require different mixing proportions.
- Generally, you’ll mix the glue with water in a 1:2–1:4 ratio. Use a clean bucket and stir the mixture thoroughly until it reaches a smooth, consistent consistency. Avoid lumps.
- Let the glue rest for the recommended time (usually 5–10 minutes) before using it. This allows the adhesive to activate and reach its full strength.
How to Use Top Bond Glue For Wallpaper
Step 1
Work in small sections, starting at a corner of the wall. Use a brush or roller to apply a thin, even coat of glue to the wall surface.
Step 2
Fold the wallpaper strip in half, leaving the top edge exposed. Apply glue to the exposed top edge and the back of the unfolded portion.
Step 3
Unfold the wallpaper strip and carefully position it on the wall, aligning the pattern with the markings. Smooth out any air bubbles or wrinkles using the smoothing tool.
Step 4
Continue applying glue and hanging the wallpaper strips, overlapping the edges slightly. Use a level and plumb bob to ensure straight alignment.
Step 5
Wipe away any excess glue with a clean, damp sponge.
Finishing touches
Once the wallpaper is completely dry, trim the excess edges at the top and bottom using a sharp utility knife.
Smooth out any seams between the wallpaper strips using a seam roller or wallpaper smoother.
Let the wallpaper dry completely for 24–48 hours before touching or decorating.
Additional tips
Work in a well-ventilated room with a moderate temperature and humidity.
Wear gloves and a mask to protect yourself from the glue and dust.
Test the glue on a small, inconspicuous area of the wall before applying it to the entire surface.
Have a helper assist you with hanging the wallpaper, especially for large or heavy rolls.
Clean your tools and brushes thoroughly after use.
Troubleshooting common problems
- For air bubbles, use a pin to prick the bubble and gently smooth out the wallpaper.
- For wrinkles, carefully peel back the wallpaper slightly and reposition it, smoothing out any wrinkles.
- If your seams are not adhering, apply additional glue to the seam and smooth it out with the seam roller.
- If your wallpaper is peeling, check for moisture or an uneven wall surface. Re-glue the peeling portion and address the underlying cause.
Choosing the right Top Bond glue
Top Bond offers various glue types for different wallpaper materials and applications. Here’s a quick overview.
Top Bond Universal Wallpaper Adhesive
Suitable for most types of wallpaper, including lightweight, heavyweight, and vinyl.
Top Bond Non-Woven Wallpaper Adhesive
Specially formulated for non-woven wallpaper, offering strong adhesion and easy removal.
Top Bond Paste-the-Wall Adhesive
This glue is applied directly to the wall, eliminating the need to pre-paste the wallpaper.
Remember, always follow the manufacturer’s instructions specific to your chosen Top Bond glue type.
With careful preparation, proper technique, and this detailed guide, using Top Bond glue for wallpaper can be a rewarding and successful DIY project. Take your time, work carefully, and enjoy the satisfaction of transforming your old walls.
HERE ARE SOME FAQ
1. How do I prepare my wall before using Top Bond glue for wallpaper?
Before applying Top Bond glue, ensure that your wall is clean and smooth. If necessary, clean the wall thoroughly and consider using a primer. A clean and smooth surface provides a better foundation for the glue to adhere to the wallpaper effectively.
2. Can I use Top Bond glue on any type of wallpaper?
YES. Top Bond glue is versatile and can be used with various types of wallpaper. However, it’s essential to check the specific recommendations on the wallpaper’s packaging. Some wallpapers may have special instructions or compatibility requirements, and it’s crucial to follow them for the best results.
3. How do I avoid air bubbles and wrinkles when applying wallpaper with Top Bond glue?
To prevent air bubbles and wrinkles, apply the Top Bond glue evenly on the back of the wallpaper. When attaching the wallpaper to the wall, start from the top and gradually smooth it down, working out any air pockets as you go. Taking your time during this process will help ensure a smooth and bubble-free application.
4. What should I do if I encounter issues like misaligned patterns or difficulties in corners?
If you face challenges like misaligned patterns or difficulties with corners, don’t worry—this is common. Refer to the troubleshooting section in the guide for helpful tips on resolving such issues. The guide provides insights and solutions to common problems, ensuring a successful wallpaper application with Top Bond glue.
