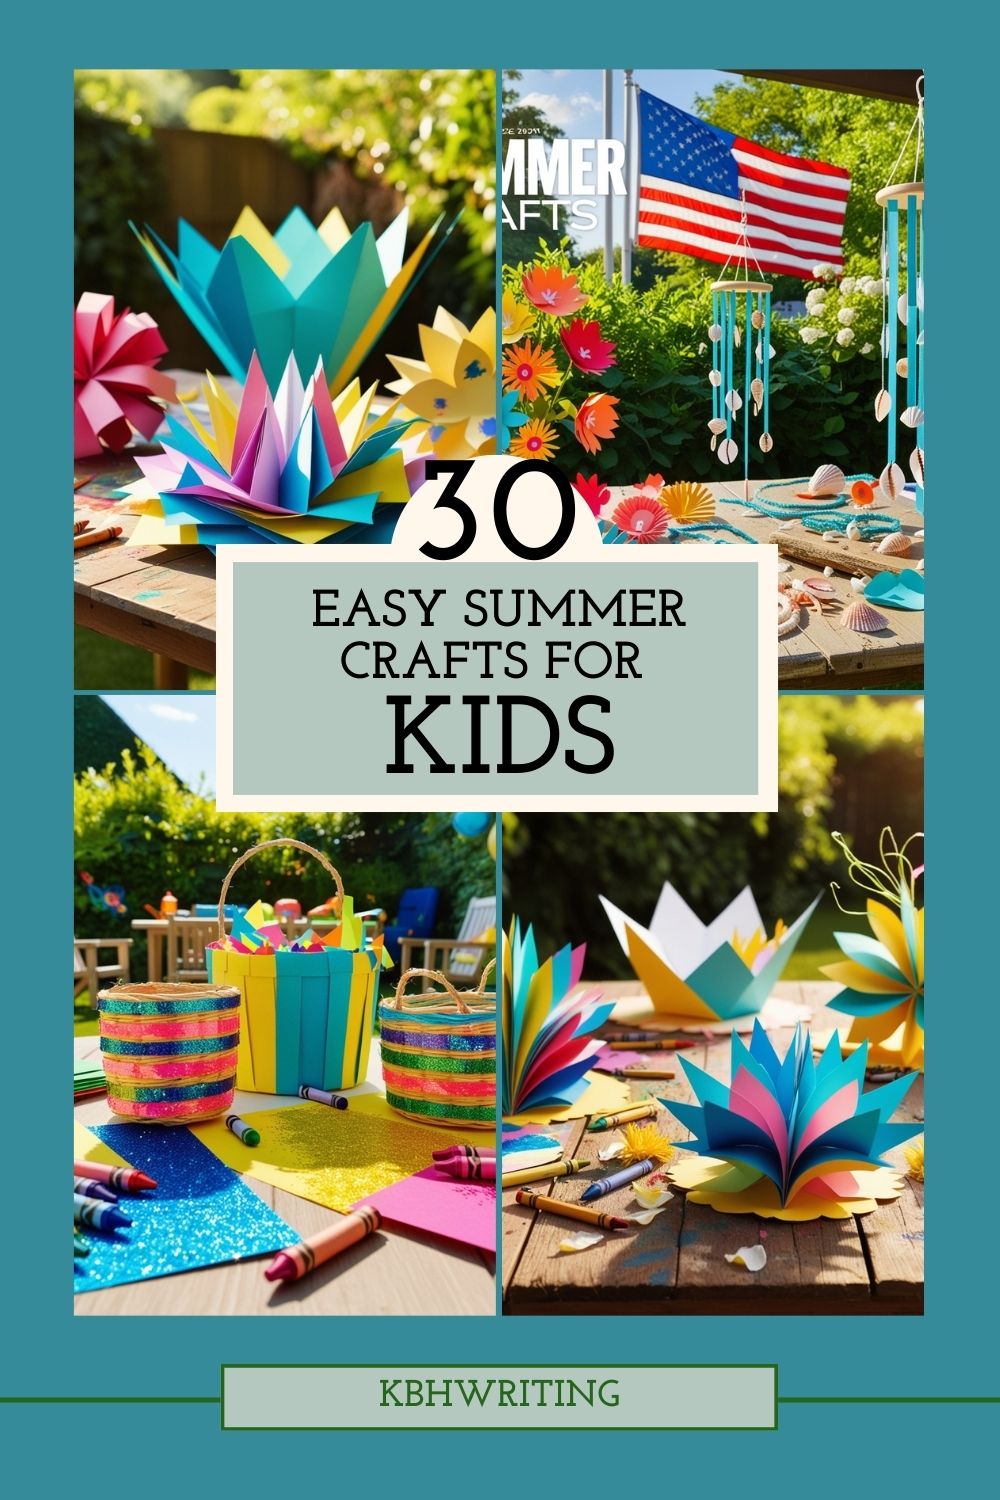
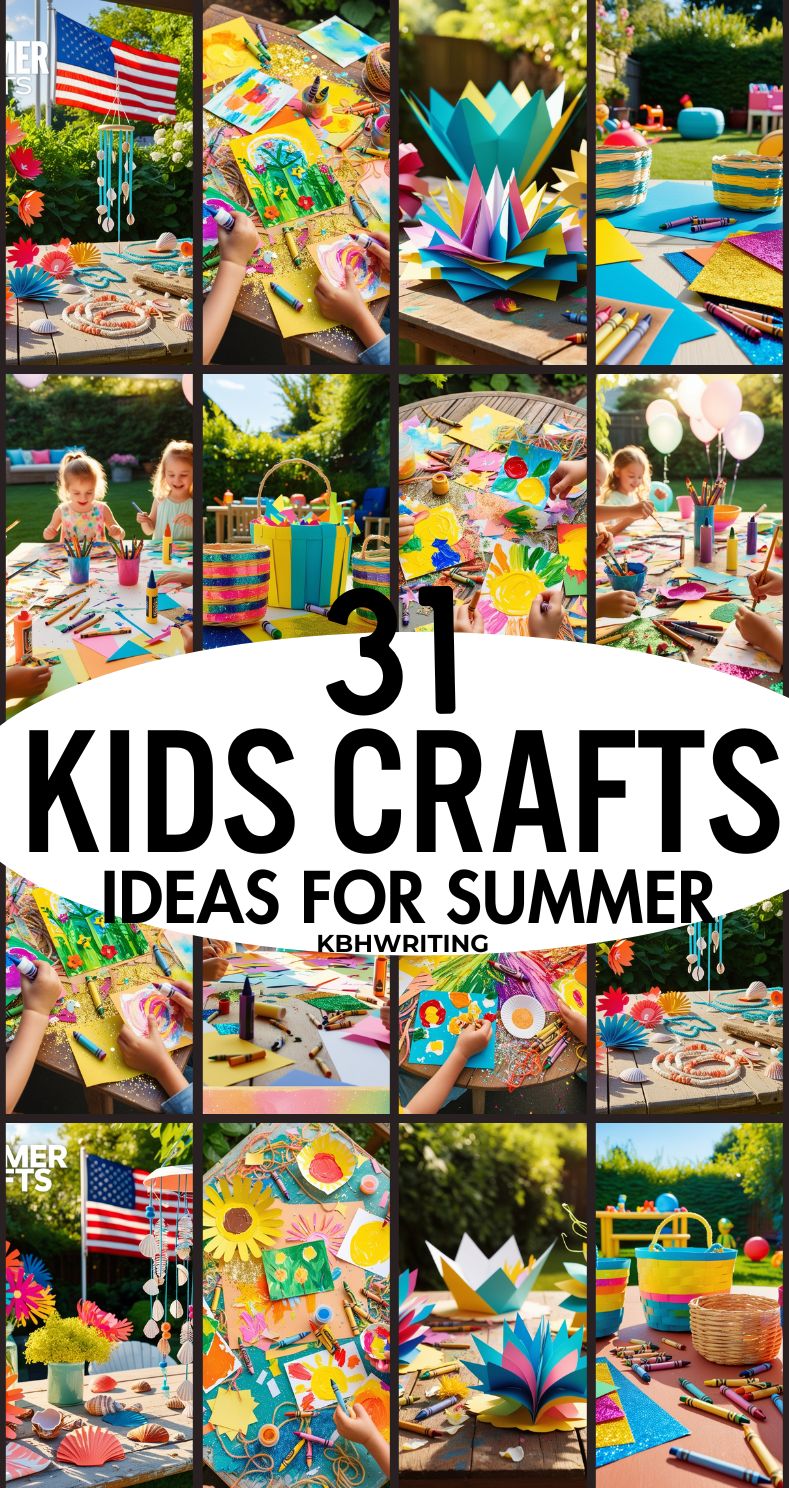
Summer is a busy season full of time spent outdoors, from warm-weather vacations and camping trips to summer parties shared with friends and family. But what about those lazy days at home when your kids are looking for a new game, craft, or activity to keep themselves entertained?
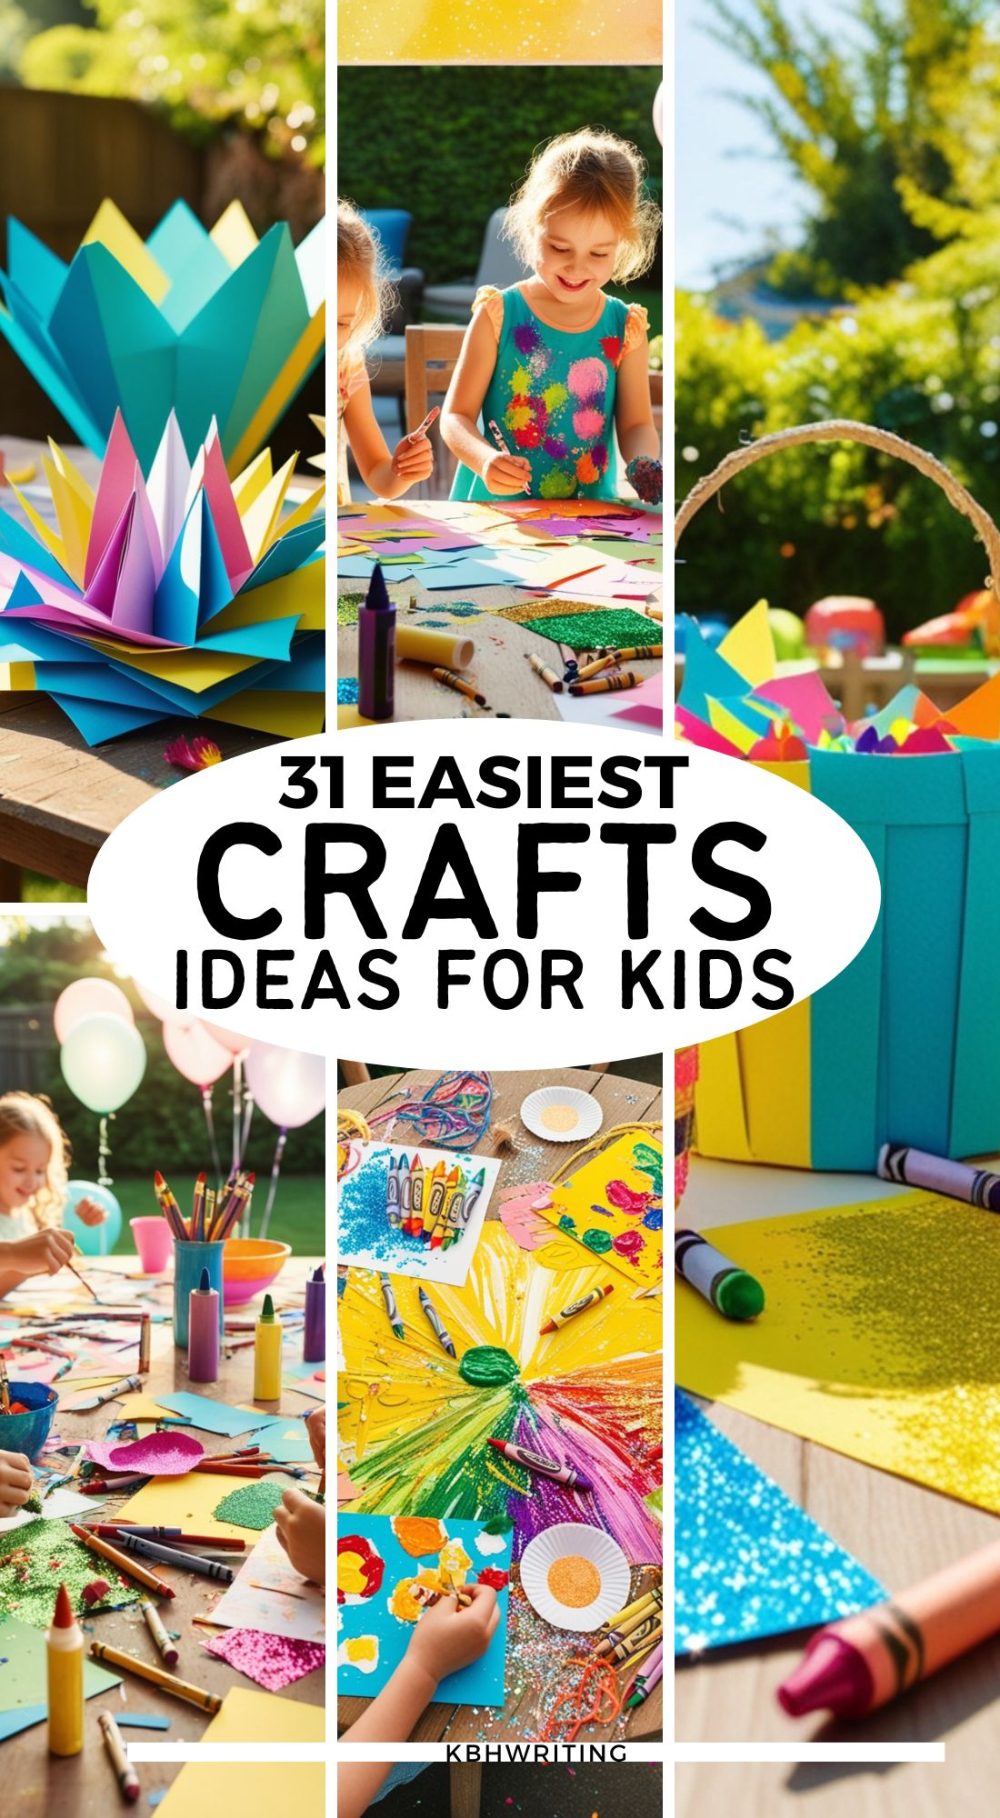
Now is the perfect time to pull out the art supply bin and let your kids use their imagination with one of these simple and quick DIY summer crafts. We have rounded up a variety of craft ideas that are fun for all ages, from toddlers and preschoolers to tweens and adults.
Related: 20 Easy Camping Crafts For Toddlers
Easy Summer Crafts For Kids
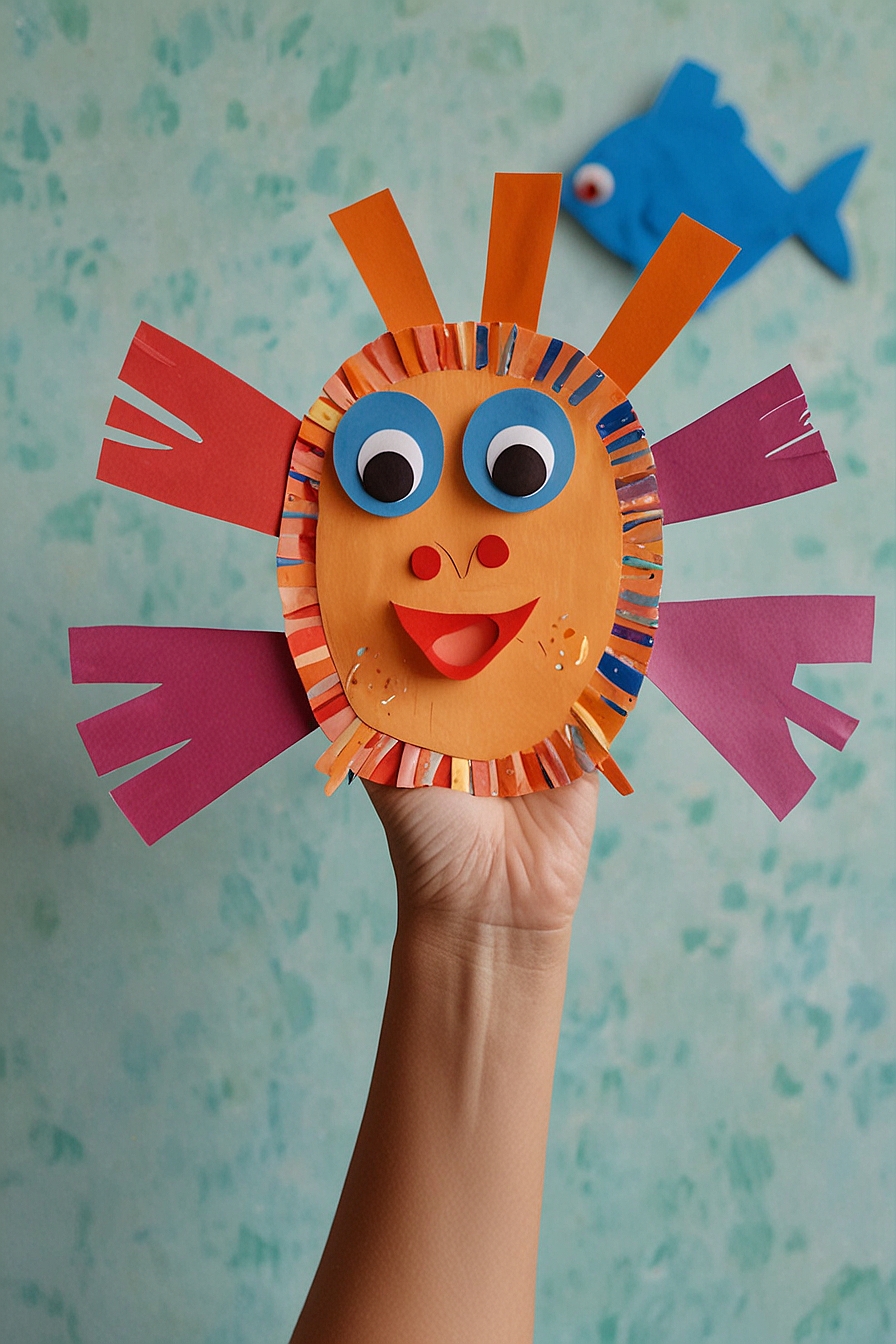
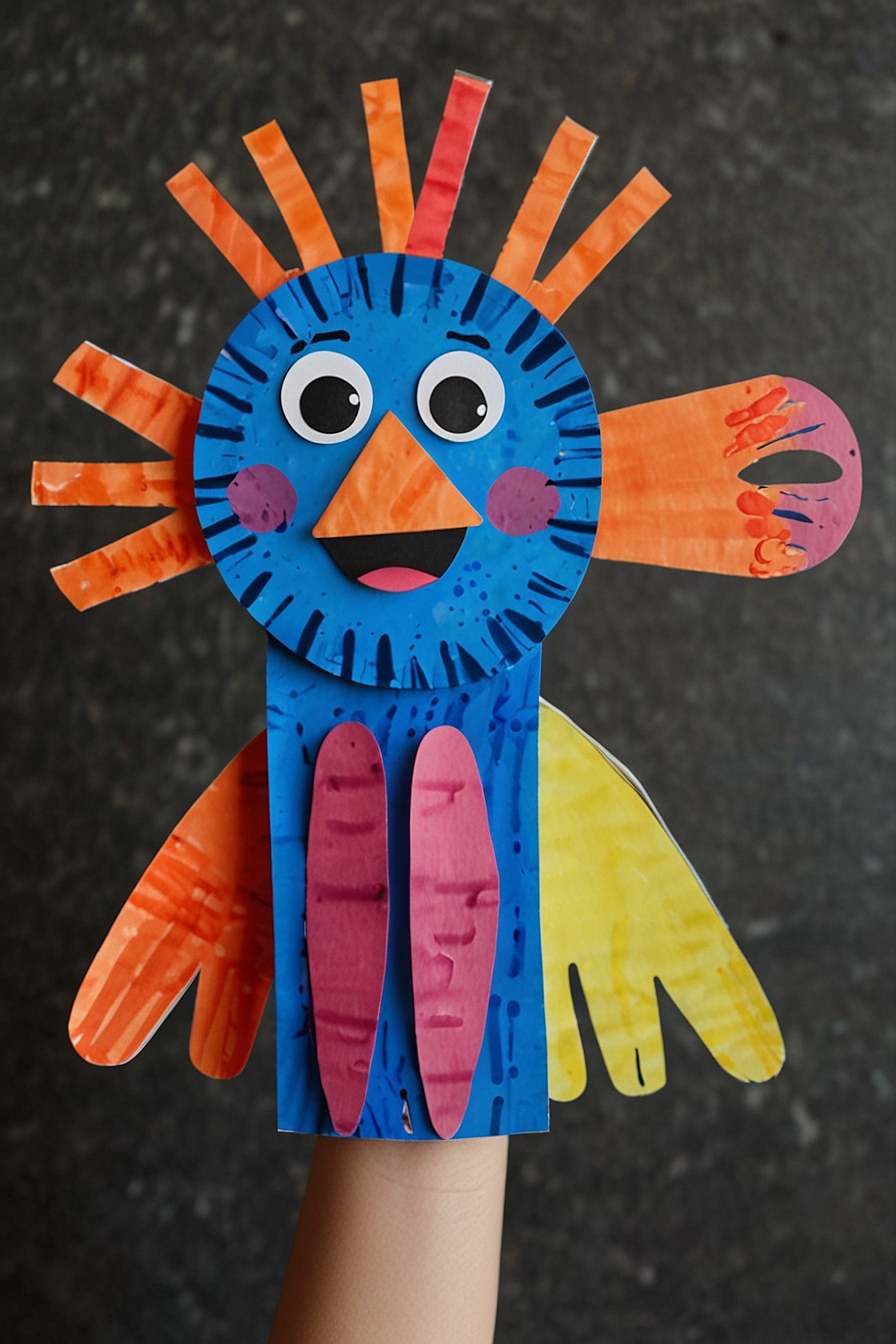
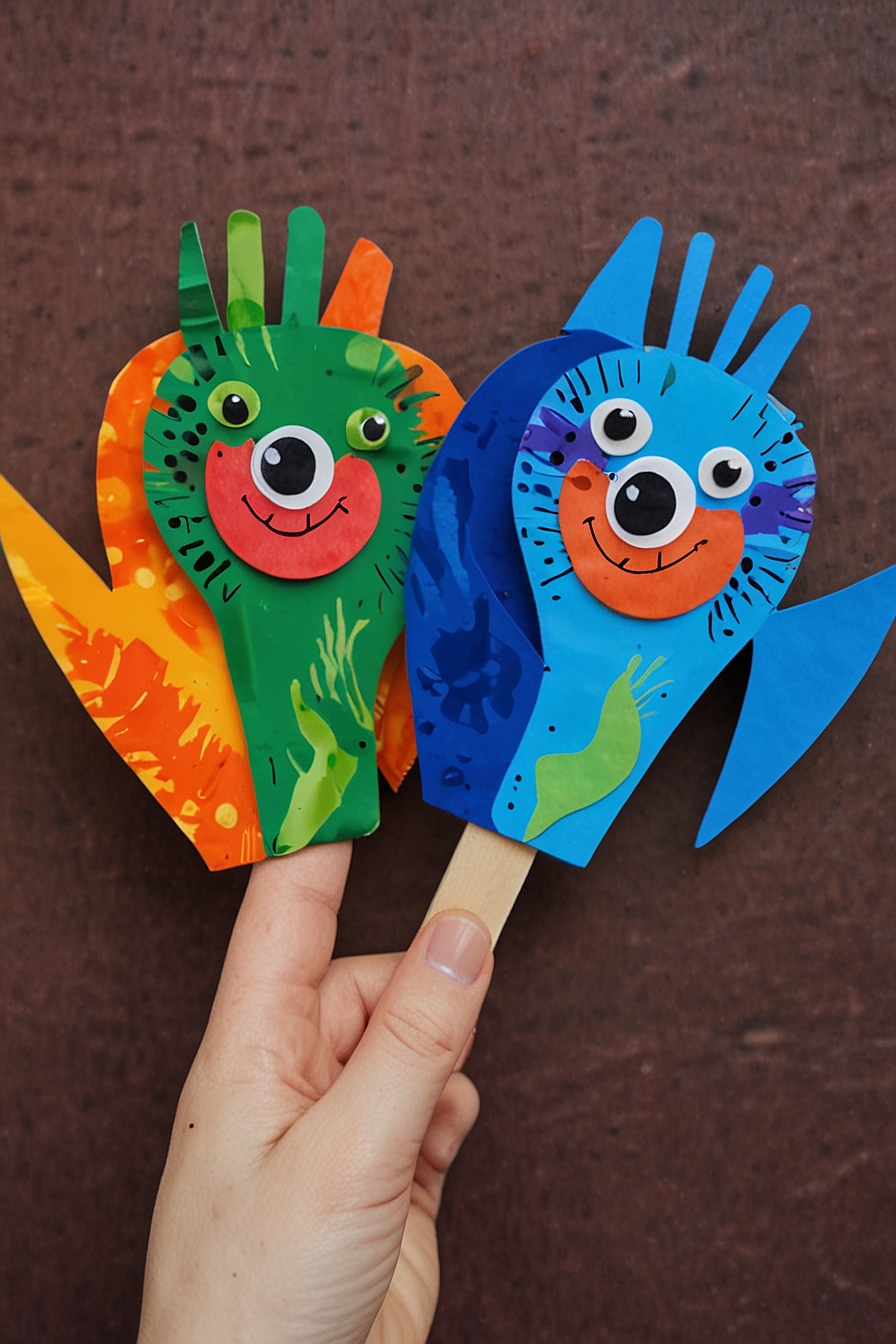
Handprint Fish Puppets
Materials:
- Colored construction paper
- Googly eyes
- Glue
- Scissors
- Craft sticks
- Markers or crayons
Instructions:
- Trace Handprints: Trace your child’s hand on a piece of colored construction paper and cut it out. This will be the body of the fish.
- Decorate the Fish: Use markers or crayons to draw scales, fins, and other details on the handprint cutout. Glue a googly eye onto the fish.
- Attach the Stick: Glue a craft stick to the back of the handprint to create a puppet handle.
- Create an Ocean Scene: Make several handprint fish puppets and use them to put on an underwater puppet show!
Paper Plate Beach Ball Craft
Materials:
- Paper plates
- Paint and paintbrushes
- Black marker
- Glue
- Scissors
Instructions:
- Paint the Plate: Divide the paper plate into six equal sections. Paint each section a different bright color and let it dry.
- Outline the Sections: Use a black marker to outline each section of the beach ball.
- Create the 3D Effect: Cut out a small circle from another paper plate and paint it white. Glue this circle in the center of the colored plate to give it a 3D effect.
- Display: Hang your paper plate beach ball on the wall as a fun summer decoration!
Tissue Paper Flowers
Materials:
- Tissue paper (various colors)
- Pipe cleaners
- Scissors
Instructions:
- Cut the Tissue Paper: Cut several sheets of tissue paper into rectangles. Stack them on top of each other.
- Fold the Paper: Starting at one short end, accordion fold the tissue paper stack.
- Secure with Pipe Cleaner: Wrap a pipe cleaner around the center of the folded tissue paper and twist to secure.
- Shape the Petals: Gently separate and fluff each layer of tissue paper to create the petals of the flower.
- Create a Bouquet: Make several flowers in different colors and arrange them in a vase for a beautiful, homemade bouquet.
Bubble Print Art
Materials:
- Bubble solution
- Food coloring
- Paper
- Straws
- Shallow dishes
Instructions:
- Prepare the Solution: Pour some bubble solution into a shallow dish and add a few drops of food coloring.
- Create the Bubbles: Use a straw to blow bubbles in the colored solution.
- Capture the Prints: Place a piece of paper over the bubbles and let the bubbles pop on the paper, leaving behind colorful prints.
- Dry and Display: Let the paper dry completely, then hang up your unique bubble print art.
Paper Bag Kites
Materials:
- Paper bags
- Markers or crayons
- Streamers or ribbon
- String
- Glue
- Scissors
Instructions:
- Decorate the Bag: Use markers or crayons to decorate a paper bag with colorful designs.
- Attach the Streamers: Glue streamers or ribbons to the bottom of the bag to create the kite’s tail.
- Add the String: Punch two holes at the top of the bag and tie a piece of string through them to create the kite’s handle.
- Fly the Kite: Take your paper bag kite outside on a windy day and watch it soar!
Craft Stick Bird Feeder
Materials:
- Craft sticks (popsicle sticks)
- Glue
- String or yarn
- Birdseed
Instructions:
- Build the Base: Glue craft sticks together to form a square base. Let it dry.
- Create the Walls: Glue additional craft sticks vertically to build up the sides of the feeder. Keep layering until you reach the desired height.
- Attach the Hanger: Tie a piece of string or yarn around the top of the feeder to create a hanger.
- Fill with Birdseed: Fill the feeder with birdseed and hang it outside for the birds to enjoy.
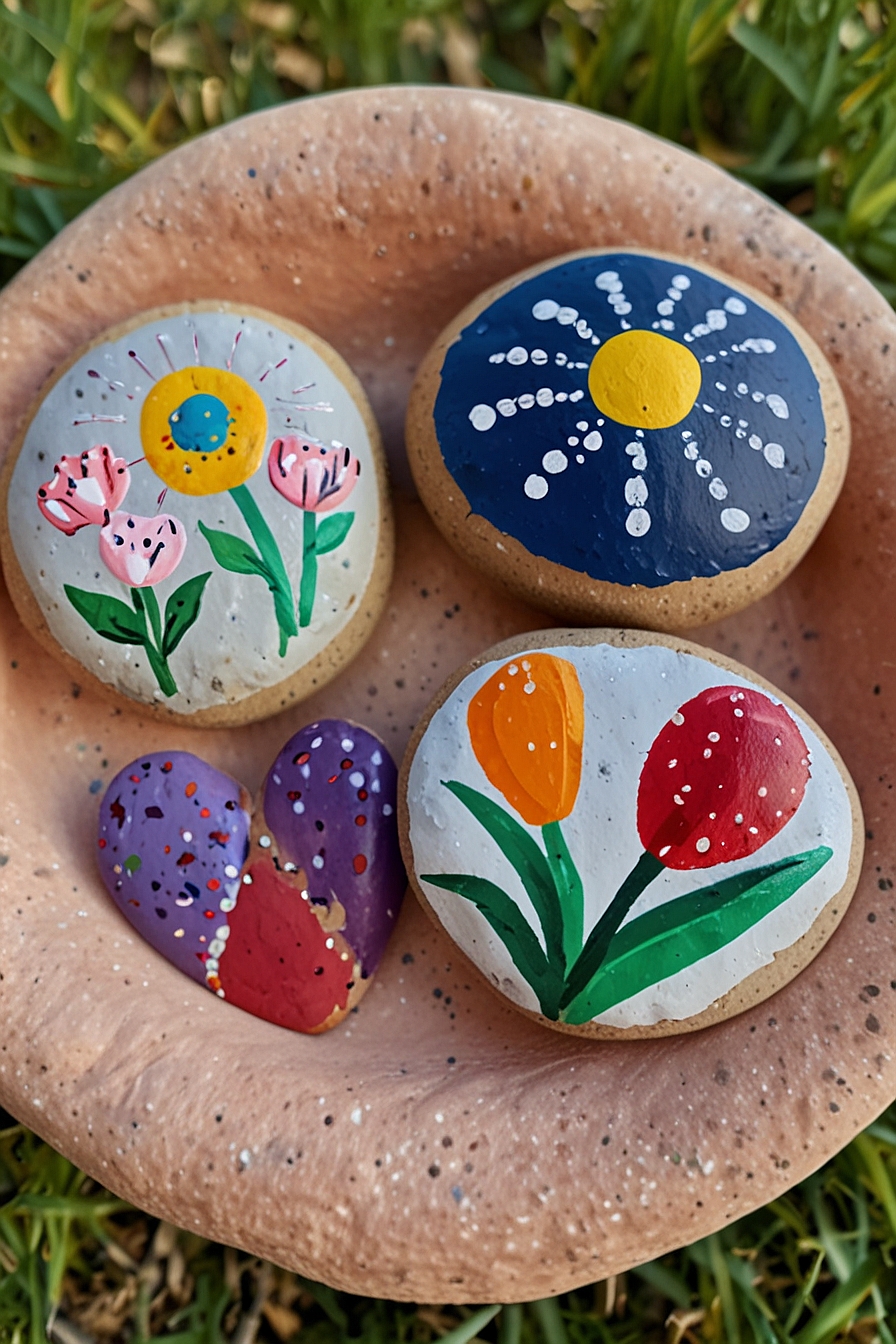
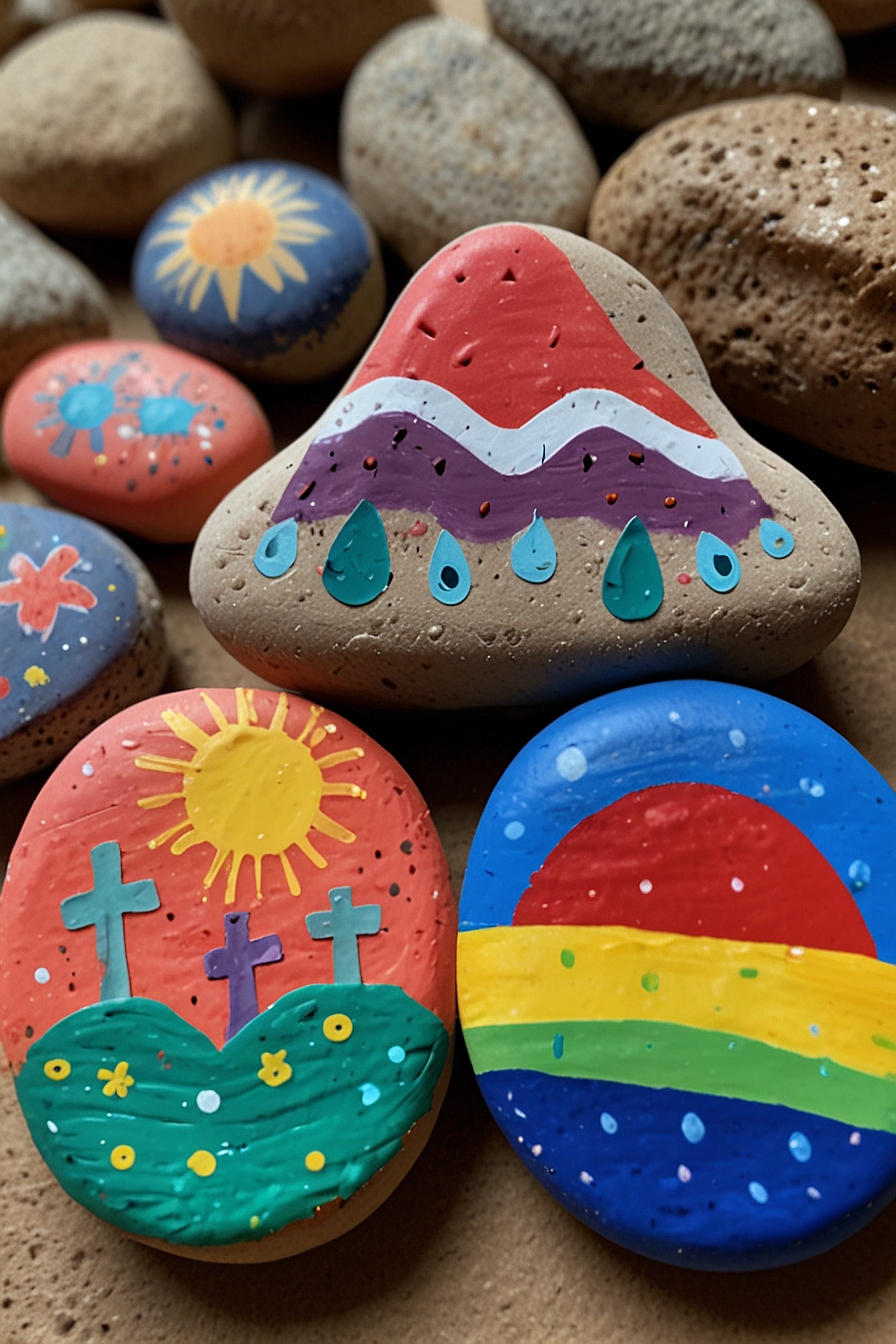
Rock Painting
Materials:
- Smooth rocks
- Acrylic paint
- Paintbrushes
- Sealant (optional)
Instructions:
- Collect Rocks: Collect smooth rocks from your yard or a local park.
- Clean the Rocks: Wash the rocks and let them dry completely.
- Paint Designs: Use acrylic paint to create fun designs, patterns, or characters on the rocks. Let the paint dry between layers if necessary.
- Seal the Paint: Once the paint is completely dry, you can apply a sealant to protect your designs (optional).
- Display: Use the painted rocks to decorate your garden, or give them as gifts.
Paper Plate Jellyfish
Materials:
- Paper plates
- Paint and paintbrushes
- Ribbon or streamers
- Googly eyes
- Glue
- Scissors
- Hole punch
Instructions:
- Paint the Plate: Paint the bottom of a paper plate with bright colors and let it dry.
- Attach Eyes: Glue googly eyes onto the painted plate.
- Create Tentacles: Cut ribbon or streamers into long strips. Punch holes along the edge of the plate and thread the ribbon or streamers through the holes to create tentacles.
- Decorate: Add any additional decorations, such as glitter or stickers, to the jellyfish.
- Hang Up: Display your jellyfish by hanging it from the ceiling or in a window.
Pinecone Bird Feeders
Materials:
- Pinecones
- Peanut butter (or shortening for allergies)
- Birdseed
- String or yarn
Instructions:
- Prepare the Pinecones: Tie a piece of string or yarn around the top of each pinecone to create a hanger.
- Apply Peanut Butter: Spread peanut butter (or shortening) all over the pinecone, making sure to get it into all the crevices.
- Roll in Birdseed: Roll the peanut butter-covered pinecone in birdseed until it is well-coated.
- Hang the Feeder: Hang the bird feeder outside and watch the birds enjoy the treat.
Sponge Water Bombs
Materials:
- Sponges
- Rubber bands
- Scissors
Instructions:
- Cut the Sponges: Cut each sponge into strips lengthwise.
- Bundle the Strips: Gather several strips together in a bundle.
- Secure with Rubber Band: Wrap a rubber band around the middle of the bundle tightly to hold the strips together.
- Fluff the Bomb: Fluff out the sponge strips to create a water bomb shape.
- Play: Soak the sponge bombs in water and have a fun water fight!
Paper Plate Sun Craft
Materials:
- Paper plate
- Yellow and orange paint
- Paintbrush
- Scissors
- Glue
- Googly eyes (optional)
- Black marker
Instructions:
- Paint the Plate: Start by painting the paper plate yellow. Let it dry completely.
- Create the Sun Rays: Cut triangles out of orange construction paper. These will be the sun’s rays.
- Attach the Rays: Glue the orange triangles around the edge of the paper plate.
- Add the Face: Glue googly eyes onto the center of the plate (or draw them on with a marker). Use the black marker to draw a smiling mouth.
- Final Touches: You can add additional decorations like glitter or stickers if you like.
Handprint Ice Cream Cone Craft


Materials:
- Colored construction paper (brown, pink, and other colors for ice cream scoops)
- Scissors
- Glue
- Markers or crayons
- Decorative items (like sequins, pom-poms, or glitter)
Instructions:
- Make the Cone: Cut a triangle out of brown construction paper for the ice cream cone.
- Create the Ice Cream Scoops: Trace your child’s hand on different colored construction paper and cut out the handprints. These will be the ice cream scoops.
- Assemble the Ice Cream Cone: Glue the brown triangle (cone) at the bottom of a sheet of paper. Then, glue the handprint cutouts above the cone, layering them to look like scoops of ice cream.
- Decorate: Use markers, crayons, or decorative items to add sprinkles, a cherry, or other fun details to the ice cream scoops.
Popsicle Stick Boat Craft
Materials:
- Popsicle sticks
- Glue
- Paint and paintbrushes
- Construction paper or fabric
- Scissors
Instructions:
- Build the Base: Glue several popsicle sticks side by side to form the base of the boat.
- Create the Sides: Glue popsicle sticks vertically along the sides of the base to form the sides of the boat.
- Paint the Boat: Once the glue is dry, paint the boat in your favorite colors and let it dry.
- Make the Sail: Cut a triangle out of construction paper or fabric for the sail. Attach it to a popsicle stick and then glue the stick vertically onto the boat.
- Decorate: Add any additional decorations like flags or stickers to personalize your boat.
Paper Plate Ocean Scene
Materials:
- Paper plate
- Blue paint
- Construction paper (various colors)
- Glue
- Scissors
- Markers or crayons
Instructions:
- Paint the Plate: Paint the paper plate blue and let it dry completely.
- Create Ocean Animals: Cut out shapes of ocean animals (fish, seaweed, starfish, etc.) from the construction paper.
- Assemble the Scene: Glue the ocean animals onto the paper plate to create an underwater scene.
- Add Details: Use markers or crayons to add additional details like bubbles or waves.
Butterfly Suncatchers
Materials:
- Wax paper
- Tissue paper (various colors)
- Black construction paper
- Glue
- Scissors
Instructions:
- Create the Butterfly Shape: Cut out a butterfly shape from the black construction paper. Cut out the interior of the wings, leaving an outline.
- Prepare the Wax Paper: Cut a piece of wax paper slightly larger than the butterfly shape.
- Fill the Wings: Cut or tear tissue paper into small pieces. Glue the tissue paper pieces onto the wax paper to fill in the butterfly wings.
- Assemble: Glue the black construction paper outline onto the wax paper. Trim any excess wax paper from around the edges.
- Display: Hang your suncatcher in a window to catch the light.
Fruit Fans
Materials:
- Colored construction paper
- Popsicle sticks
- Glue
- Scissors
- Markers or crayons
Instructions:
- Draw the Fruit Shape: Draw a semi-circle shape on the colored construction paper. It could be a watermelon, orange, lemon, or any fruit.
- Cut Out the Shape: Cut out the semi-circle shape.
- Decorate the Fruit: Use markers or crayons to add details to the fruit, like seeds or segments.
- Attach the Handle: Glue a popsicle stick to the back of the fruit shape to create a handle.
- Cool Off: Use your fruit fan to stay cool on a hot summer day!
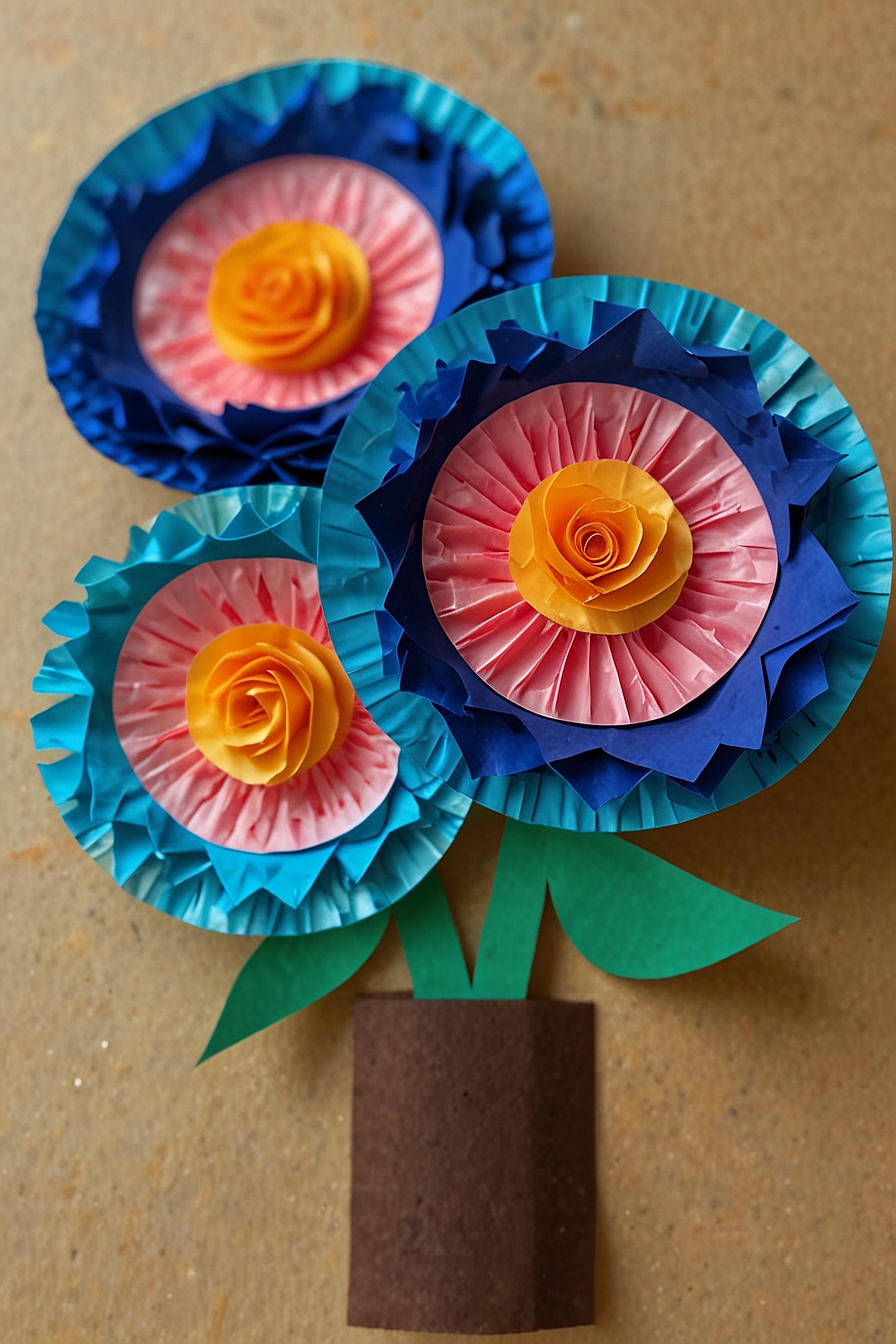
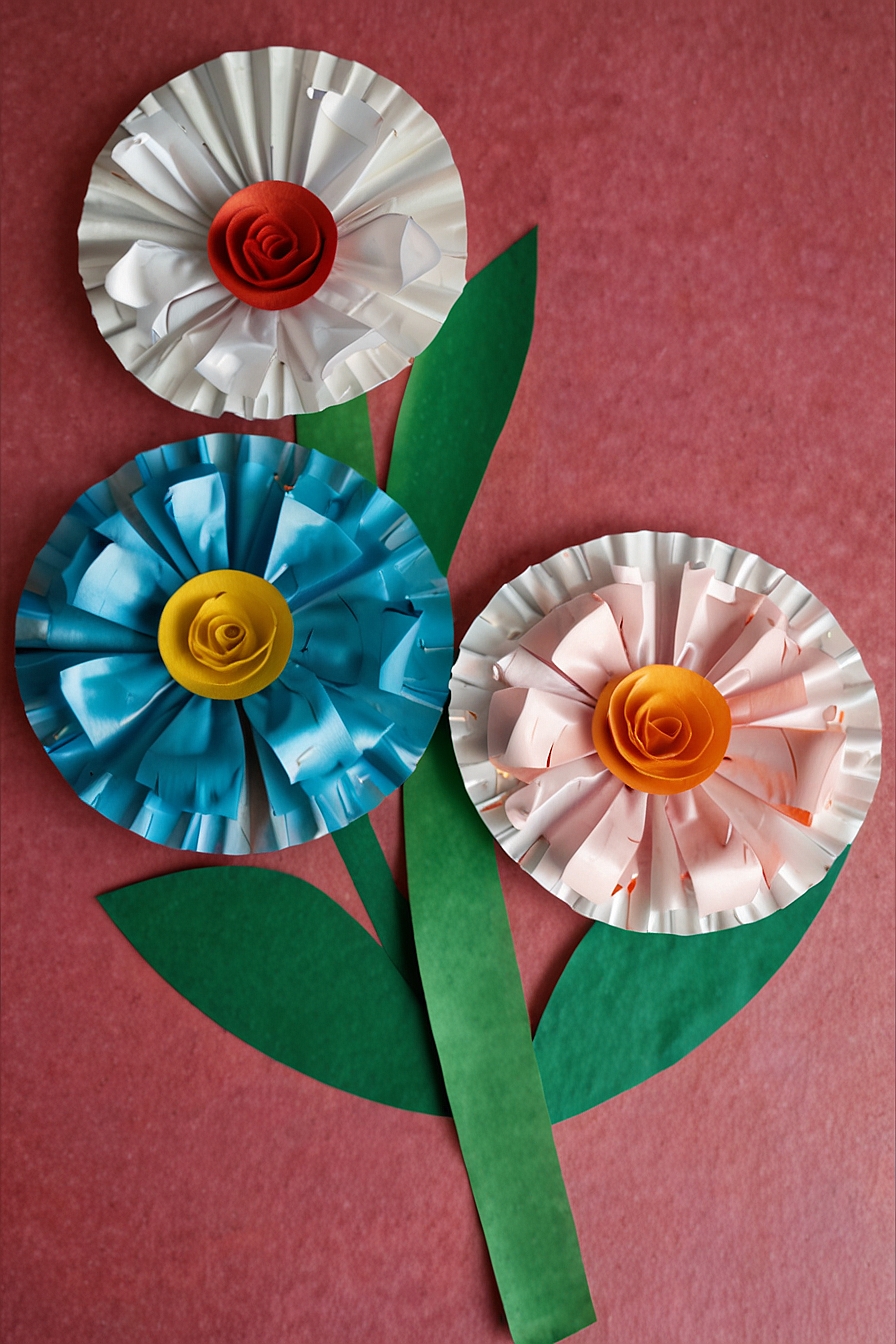
Cupcake Liner Flowers
Materials:
- Cupcake liners (various colors)
- Green pipe cleaners
- Glue
- Scissors
- Buttons (optional)
Instructions:
- Prepare the Liners: Flatten out the cupcake liners.
- Create the Flower: Layer two or three cupcake liners to create the petals of the flower. Glue them together in the center.
- Add the Stem: Attach a green pipe cleaner to the back of the flower to serve as the stem.
- Finish the Flower: Glue a button in the center of the cupcake liners for added detail (optional).
- Display: Arrange your flowers in a vase or stick them into a foam block for display.
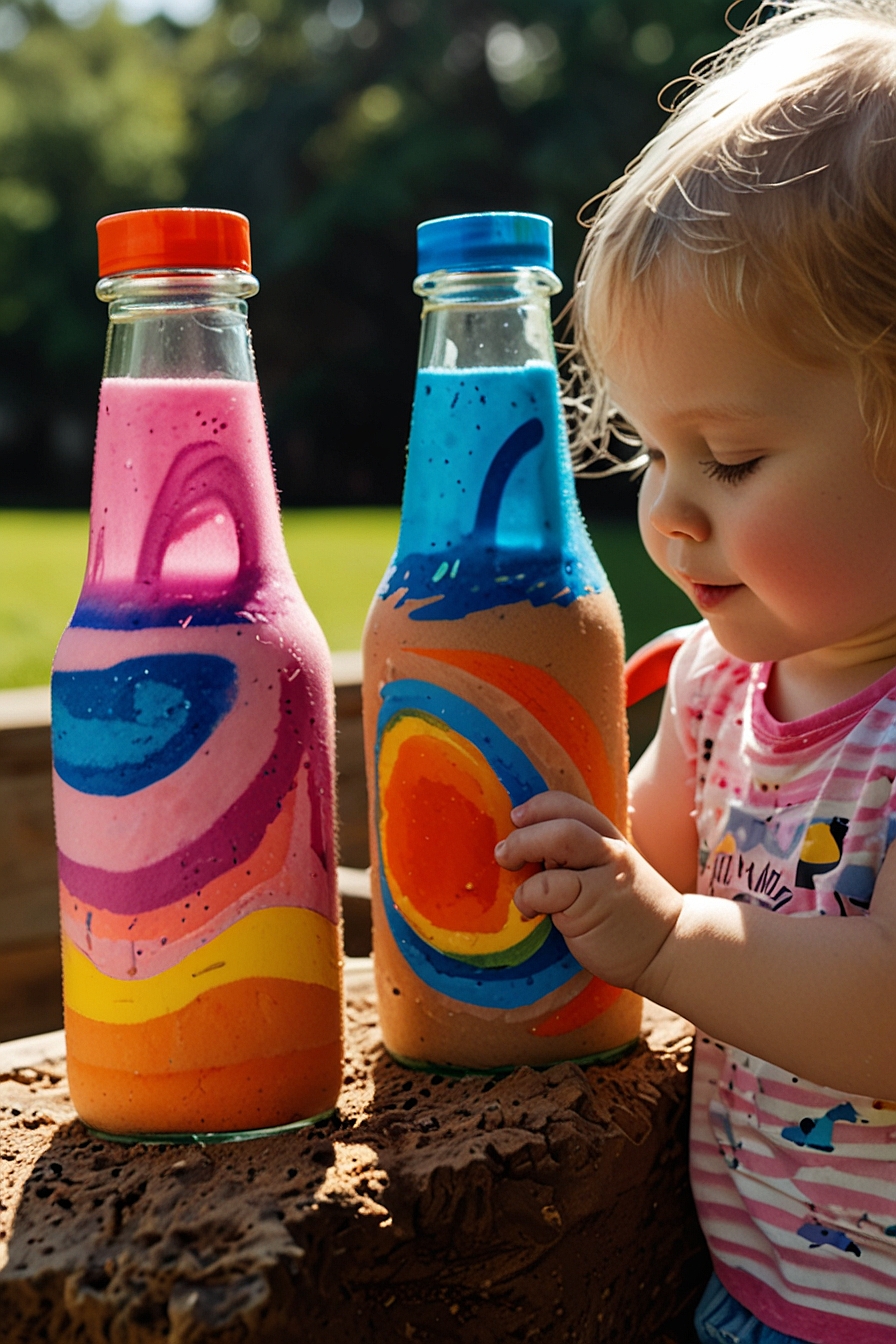
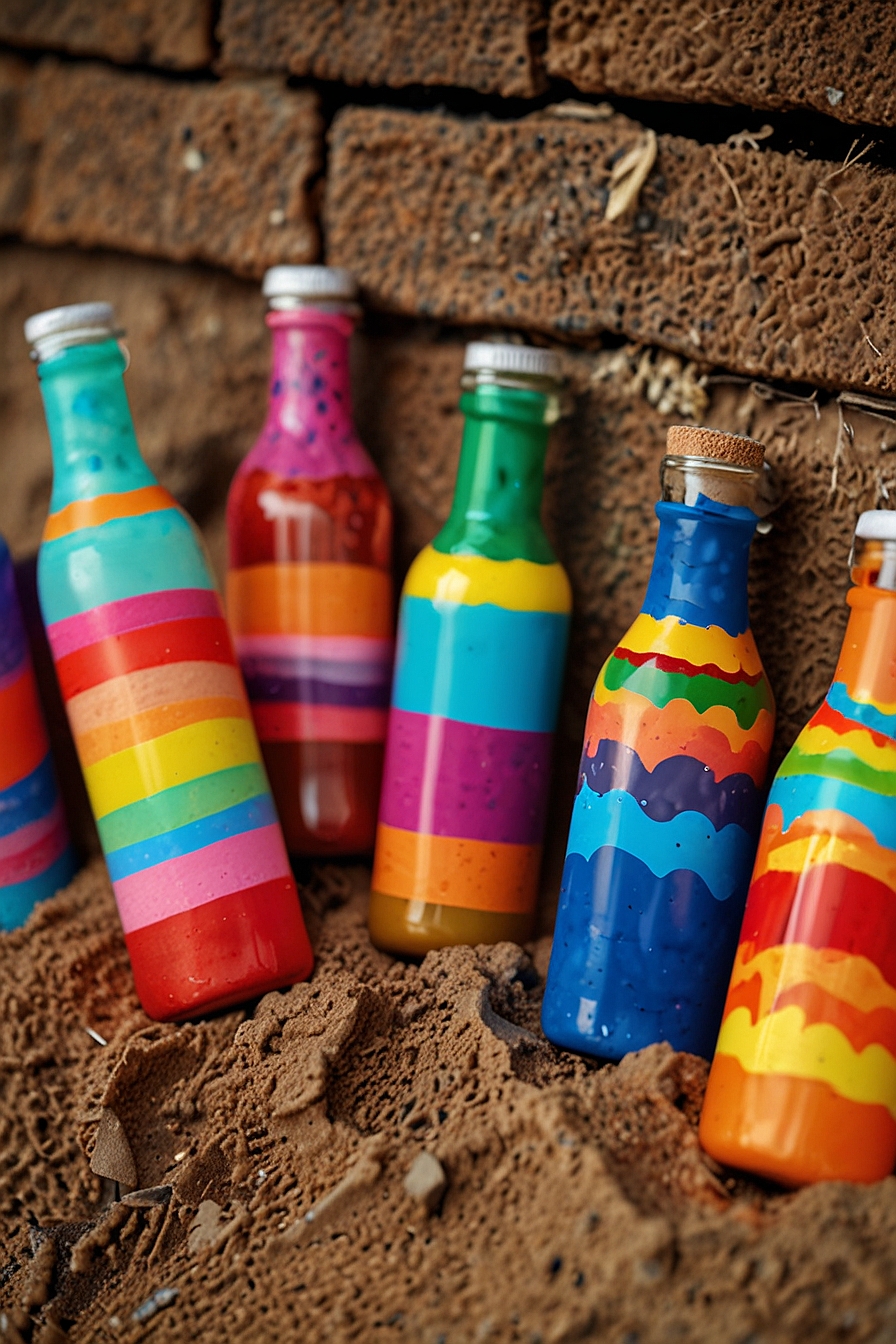
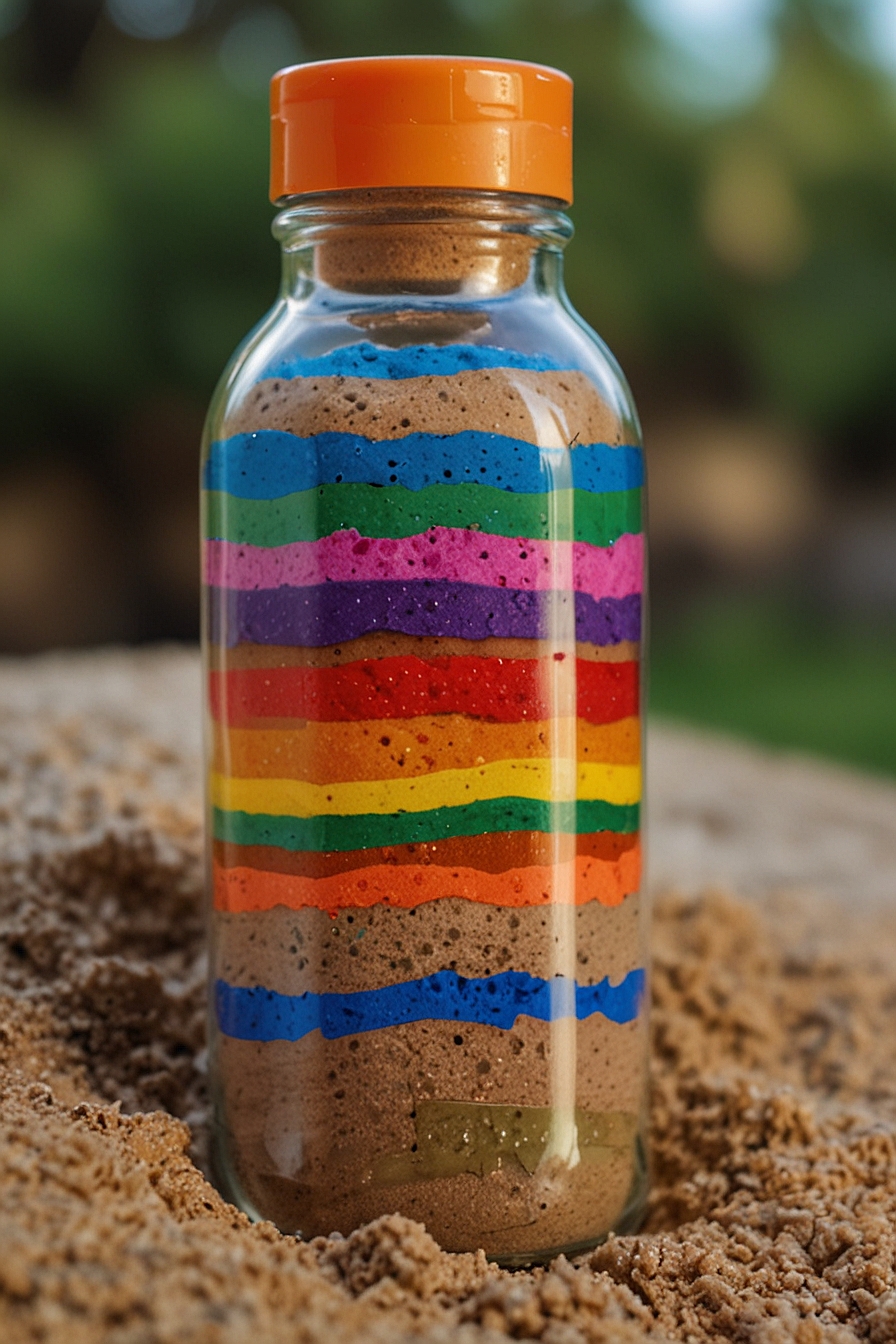
Sand Art Bottles
Materials:
- Small clear plastic bottles or jars
- Colored sand (available at craft stores)
- Funnels
- Small sticks or skewers
Instructions:
- Set Up: Place the funnel into the opening of the bottle or jar.
- Layer the Sand: Pour different colors of sand through the funnel, creating layers. Use a stick or skewer to create patterns or swirls in the sand.
- Fill to the Top: Continue adding layers until the bottle or jar is full. Gently tap the bottle to settle the sand and make room for more layers if needed.
- Seal the Bottle: Once filled, tightly close the lid to prevent the sand from spilling.
Pool Noodle Monsters
Materials:
- Pool noodles
- Googly eyes
- Pipe cleaners
- Foam sheets
- Glue
- Scissors
Instructions:
- Cut the Noodle: Cut the pool noodle into smaller sections, each about 6-8 inches long.
- Add Eyes: Glue googly eyes onto the top of the pool noodle sections.
- Create Arms and Legs: Cut pieces of pipe cleaners to use as arms and legs. Stick them into the sides of the pool noodle.
- Add Details: Cut out shapes from the foam sheets to create mouths, ears, and other features. Glue them onto the pool noodle.
- Personalize: Let the kids decorate their monsters however they like!
Shell Creatures
Materials:
- Seashells
- Paint
- Googly eyes
- Glue
- Markers
- Small pompoms and pipe cleaners (optional)
Instructions:
- Paint the Shells: Paint the seashells in various colors and let them dry completely.
- Add Eyes: Glue googly eyes onto the shells.
- Create Features: Use markers to draw mouths and other features. Add small pompoms or pipe cleaners to create legs, antennae, or other details.
- Display: Arrange your shell creatures in a fun display.
Paper Pinwheels
Materials:
- Colored paper
- Push pins
- Pencils with erasers
- Scissors
- Glue
Instructions:
- Cut the Paper: Cut a square piece of colored paper. The size can vary depending on how large you want the pinwheel to be.
- Create the Pinwheel Shape: Cut diagonal lines from each corner toward the center, stopping about an inch from the middle.
- Fold the Corners: Take one corner of each cut section and fold it toward the center. Secure with a small dab of glue.
- Attach the Pinwheel: Push a push pin through the center of the pinwheel and into the eraser of a pencil.
- Enjoy: Blow on the pinwheel to make it spin!
Tissue Paper Hot Air Balloons
Materials:
- Balloon
- Tissue paper
- Glue
- Small paper cup
- String
- Paintbrush
Instructions:
- Prepare the Balloon: Inflate the balloon to the desired size.
- Cover with Tissue Paper: Cut tissue paper into small squares. Use a paintbrush to apply glue onto the balloon, then cover with tissue paper squares. Layer several times to create a sturdy shell. Let dry completely.
- Pop the Balloon: Once the tissue paper is dry, carefully pop the balloon and remove it from the inside.
- Create the Basket: Paint or decorate the small paper cup. Attach strings to the cup and then to the tissue paper balloon to create the hot air balloon effect.
- Decorate: Add any additional decorations or embellishments as desired.
Foam Cup Frogs
Materials:
- Foam cups
- Green paint
- Googly eyes
- Green and red construction paper
- Glue
- Scissors
- Markers
Instructions:
- Paint the Cups: Paint the foam cups green and let them dry completely.
- Add Eyes: Glue googly eyes onto the top rim of the cup.
- Create Legs: Cut out frog legs from green construction paper and glue them to the sides of the cup.
- Make the Tongue: Cut a strip of red construction paper and curl one end. Glue the uncurled end to the inside of the cup to make the frog’s tongue.
- Decorate: Use markers to add any additional details, such as nostrils or spots.
Bubble Wrap Jellyfish
Materials:
- Bubble wrap
- Paint
- Googly eyes
- Ribbon or streamers
- Glue
- Scissors
Instructions:
- Cut the Jellyfish Shape: Cut a semi-circle shape out of bubble wrap.
- Paint the Bubble Wrap: Paint the bubble wrap in bright colors and let it dry.
- Add Eyes: Glue googly eyes onto the painted bubble wrap.
- Create Tentacles: Cut ribbon or streamers into long strips and glue them to the flat edge of the bubble wrap to create tentacles.
- Finish Up: Add any additional decorations or details as desired.
Nature Collage
Materials:
- Cardstock or sturdy paper
- Glue
- Scissors
- Items from nature (leaves, flowers, small sticks, etc.)
Instructions:
- Collect Materials: Go on a nature walk and collect leaves, flowers, small sticks, and other natural items.
- Plan the Collage: Arrange the collected items on the cardstock to create a picture or pattern.
- Glue Items: Once satisfied with the arrangement, glue the items onto the cardstock.
- Let It Dry: Allow the collage to dry completely before displaying it.
Paper Plate Ice Cream Craft
Materials:
- Paper plates
- Paint
- Construction paper (brown and other colors)
- Glue
- Scissors
- Pom-poms (optional)
Instructions:
- Paint the Plate: Paint a paper plate in your favorite ice cream color and let it dry.
- Create the Cone: Cut a triangle out of brown construction paper to serve as the ice cream cone. Glue it to the bottom of the plate.
- Add Details: Use construction paper to cut out sprinkles, cherries, or other toppings and glue them onto the painted plate.
- Add a Pom-Pom: Glue a pom-pom on top of the ice cream to serve as a cherry if desired.
Egg Carton Caterpillars
Materials:
- Egg cartons
- Paint
- Googly eyes
- Pipe cleaners
- Glue
- Scissors
Instructions:
- Cut the Carton: Cut an egg carton into strips of three or four cups.
- Paint the Cups: Paint the egg carton sections in bright colors and let them dry.
- Add Eyes: Glue googly eyes onto the front cup to create the caterpillar’s face.
- Create Antennae: Cut two small pieces of pipe cleaner and poke them into the top of the front cup to create antennae.
- Decorate: Add any additional decorations or details as desired.
Paper Plate Fish Craft
Materials:
- Paper plates
- Paint and paintbrushes
- Colored construction paper
- Googly eyes
- Glue
- Scissors
Instructions:
- Paint the Plate: Paint the paper plate in bright colors to resemble a fish. Let it dry completely.
- Create Fins and Tail: Cut out fin and tail shapes from colored construction paper. You can also use the leftover pieces of the plate to create these.
- Attach Fins and Tail: Glue the fins and tail onto the painted plate.
- Add Eyes: Glue a googly eye onto the fish.
- Decorate: Use markers, glitter, or additional construction paper to add scales and other decorations to the fish.
Sunflower Craft
Materials:
- Yellow and brown construction paper
- Green pipe cleaners
- Glue
- Scissors
- Markers or crayons
Instructions:
- Cut Petals: Cut out several petal shapes from yellow construction paper.
- Create the Center: Cut a circle from brown construction paper.
- Assemble the Flower: Glue the yellow petals around the edge of the brown circle to form a sunflower.
- Add the Stem: Attach a green pipe cleaner to the back of the sunflower for the stem.
- Decorate: Use markers or crayons to add details to the sunflower.
Tie-Dye Coffee Filter Butterflies
Materials:
- Coffee filters
- Washable markers
- Spray bottle with water
- Pipe cleaners
- Clothes pins
Instructions:
- Color the Filters: Use washable markers to color the coffee filters in various patterns and colors.
- Spray with Water: Lightly spray the colored coffee filters with water to make the colors blend and create a tie-dye effect. Let them dry completely.
- Create the Body: Once dry, pinch the center of the coffee filter and twist a pipe cleaner around it to create the butterfly’s body.
- Add Antennae: Leave some extra length on the pipe cleaner and bend it to form the antennae.
- Clip the Body: Attach a clothes pin to the center of the coffee filter to hold the butterfly together.